语言:英语+中英文字幕(云桥CG资源站 机译)
PS初学者|时长: 13小时 13分 | 解压后6.83 GB 1280X720 mp4 |含项目文件|使用的软件:Photoshop
标题:琳达Photoshop 2021一对一:基础 共167小节课程
这是一套PS学习的基础入门课程,基础理论知识讲解比较全面,适合新手入门,和大神基础巩固,推荐学习!
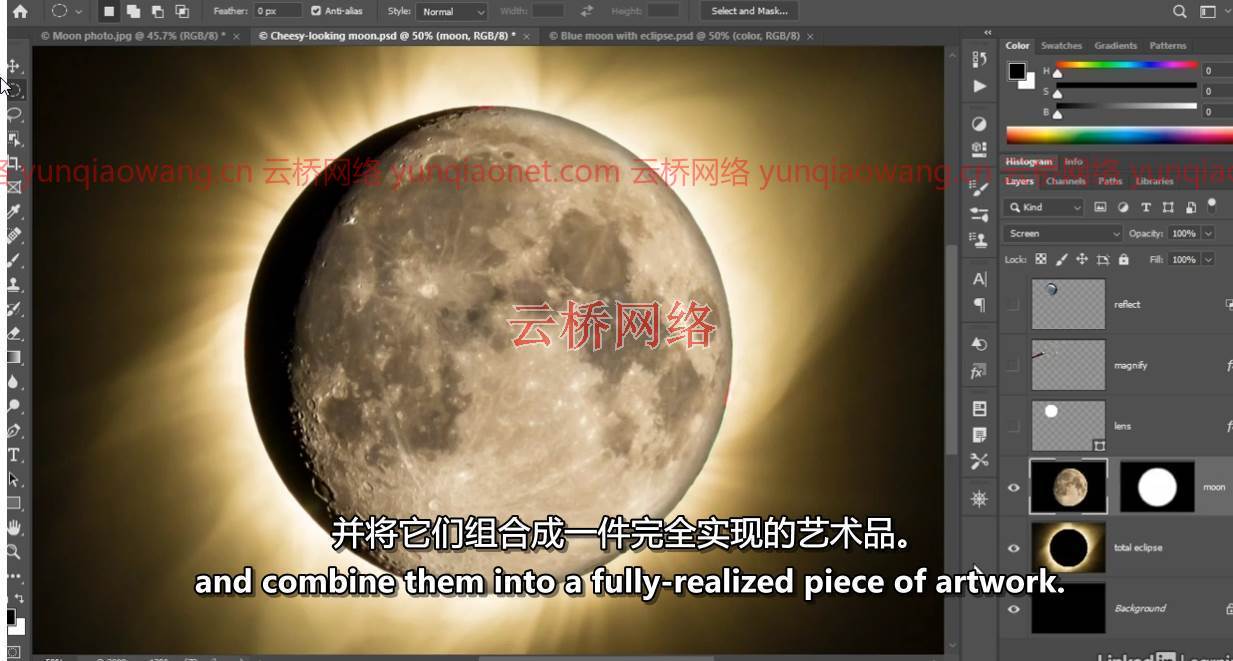
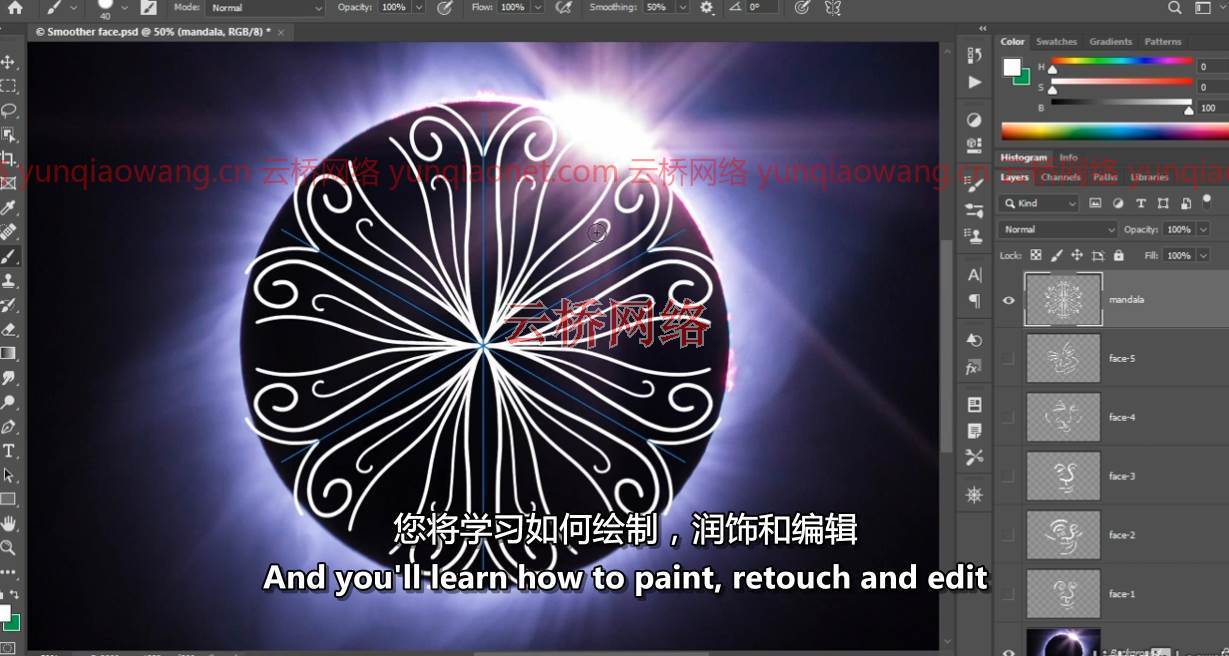
信息:在这个综合课程中,与世界知名的Photoshop专家德科·麦克莱兰进行一对一的交流。这是一个由三部分组成的系列的第一部分,这是你学习关于Photoshop的所有知识的机会,按照你需要知道的顺序,用现实世界的例子和实用的建议来完成。德科首先解释了在Photoshop中打开文件的许多方法。他用图层和面具一步步教你。Photoshop保存文件的方式几乎和打开文件的方式一样多,德科涵盖了所有的方式。他带你了解亮度、明度、对比度和色彩平衡。他向您展示了如何在相机原始模式下冲洗照片图像。他讨论了在Photoshop中一次编辑整个图像或调整特定的选定区域的能力,并带您浏览软件中的每个选择工具。还有更多,包括一整章的修图!在这一部分的最后,德科解释了如何保存图片,以便在网络和移动设备上使用。
课程目录:
001欢迎一对一
002图像编辑如何开始
003双击打开文件
004主屏幕
005打开命令
006从土坯桥开始
007在相机原始图像中打开图像
008让我带你四处看看
009放大缩小
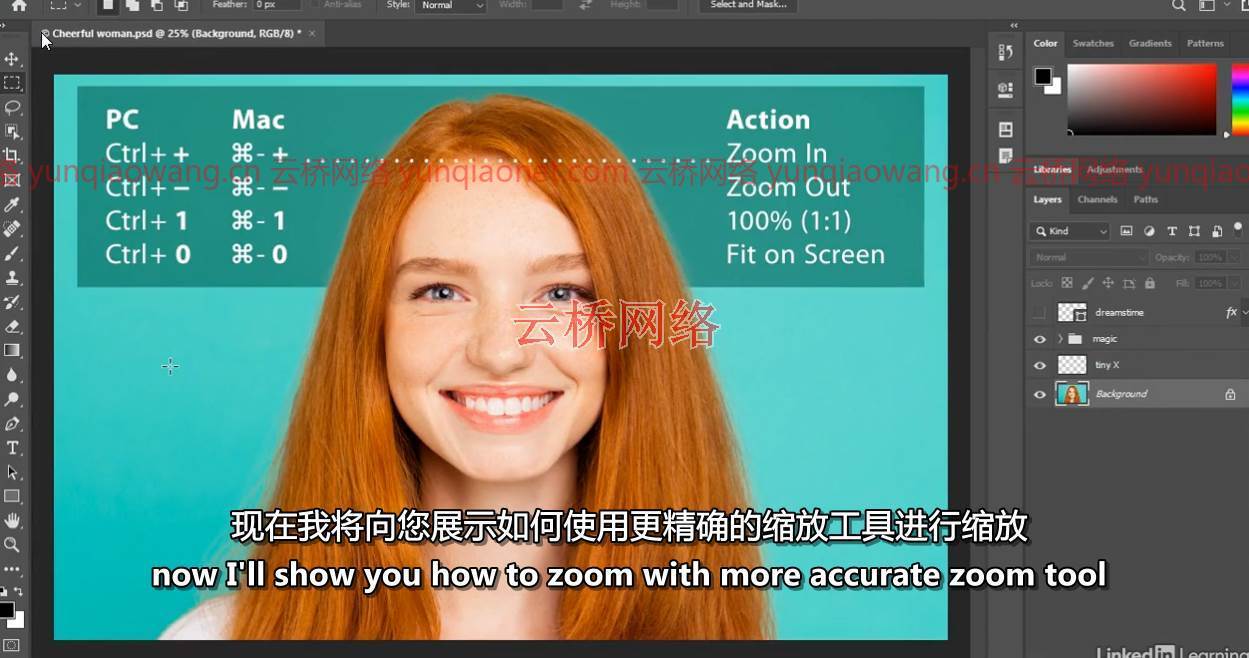
010使用更精确的缩放工具
011重新分配聚光灯和Siri(仅限苹果)
012五种连续缩放方式
013滚动(或平移)
014鸟瞰和其他滚动技巧
015在打开的图像之间切换
016在屏幕模式之间循环
017使用导航面板
018面板和工作区-不要跳过
019重置和更新工作区
020一些重要的偏好
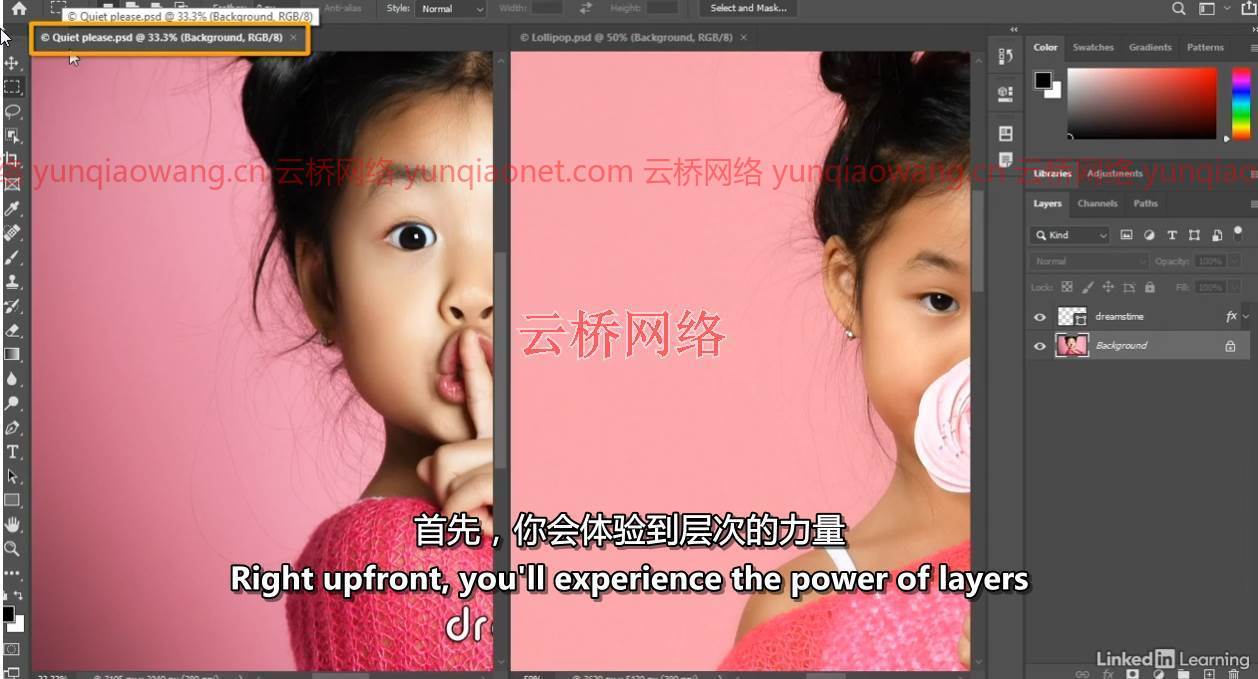
021分层组成
022介绍图层面板
023将平面背景转换为图层
024将图像跳转到新层
025翻转和缩放图层
026添加基于矢量的图层
027创建基本图层蒙版
将一层裁剪在另一层内
029将两层合二为一
030自动选择和移动工具
031反转图层蒙版
032使用图层效果增加深度
033用羽毛软化面膜
034复制和粘贴图层的三种方法
035自动缩放一层或多层
036拯救的许多方法
037关于储蓄要知道的五件基本事情
038恢复、自动保存等
039将图层保存为原生PSD格式
040最大兼容性选项
041将平面打印图像保存为TIFF
042将交互式图像保存到巴布亚新几内亚
043将平面照片保存为JPEG
044保存基于云的PSDC文件
045引入亮度
046亮度如何工作
047三个自动命令
048自动校正照片
049自动亮度-对比度
050自定义亮度-对比度
051应用动态调整层
052调整图层提示和技巧
053调整层和混合模式
054介绍直方图
055使用直方图
056用图层蒙版隔离调整
057色偏与色彩和谐
058识别照片的色偏
059自动校正色偏
060使用色彩平衡命令
061重新查看上次应用的设置
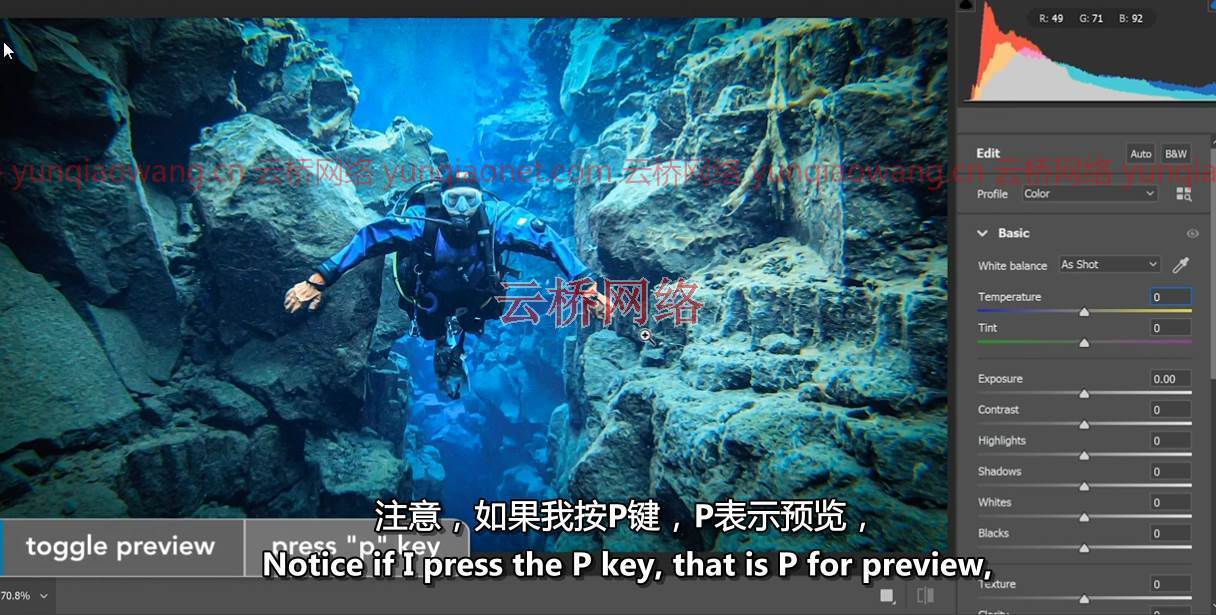
062校正相机原始图像中的白平衡
063当相机原始失望
064使用照片滤镜调整色偏
065无损应用自动颜色
066引入相机原始数据
067相机原始基础
068使用显影图像
069缩放和平移
070使用面板
071捕获原始数据,转换到DNG
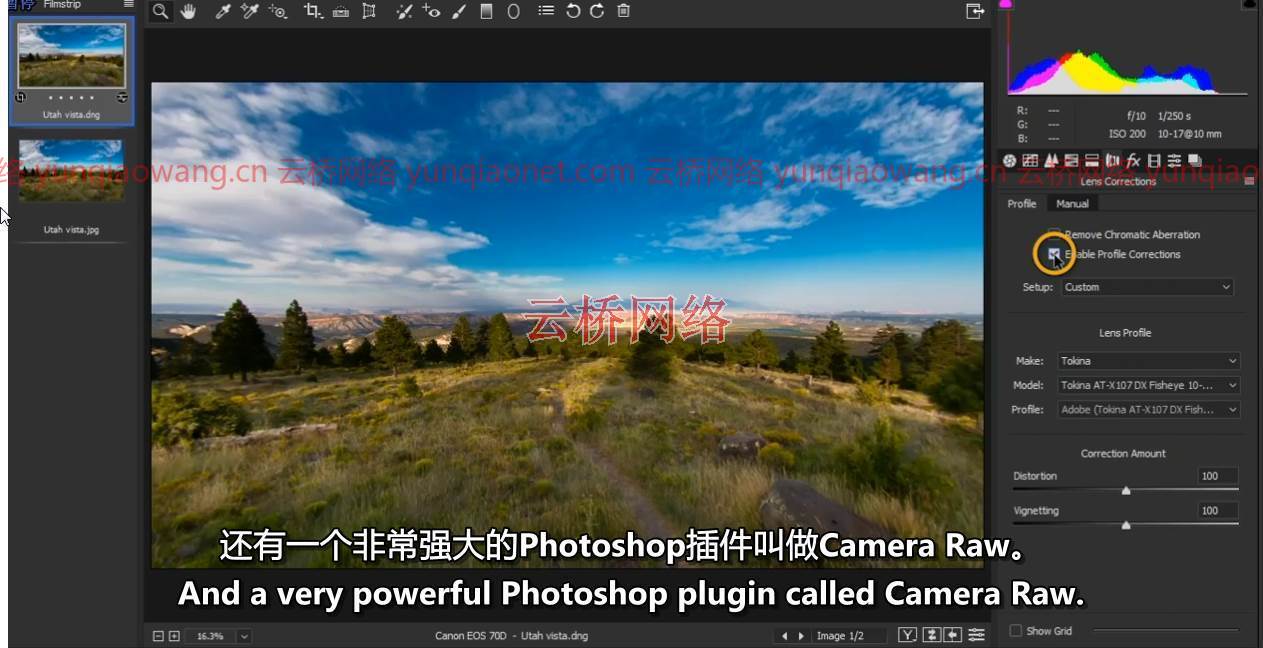
072校正镜头失真
073消除色差
074曝光和对比度
075高光、阴影、白色和黑色
076处理纹理、清晰度和去杂色
077打开和编辑多个图像
078白平衡工具的真正用途
079相机原始技巧和提示
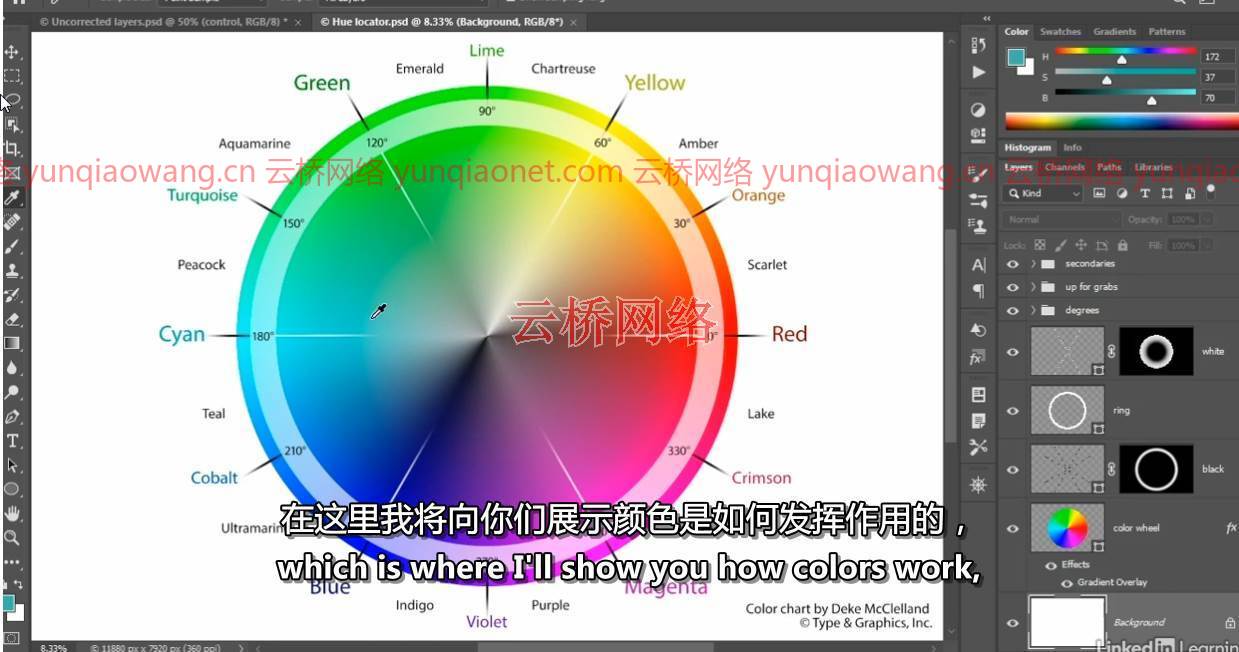
080色调、饱和度和“活力”
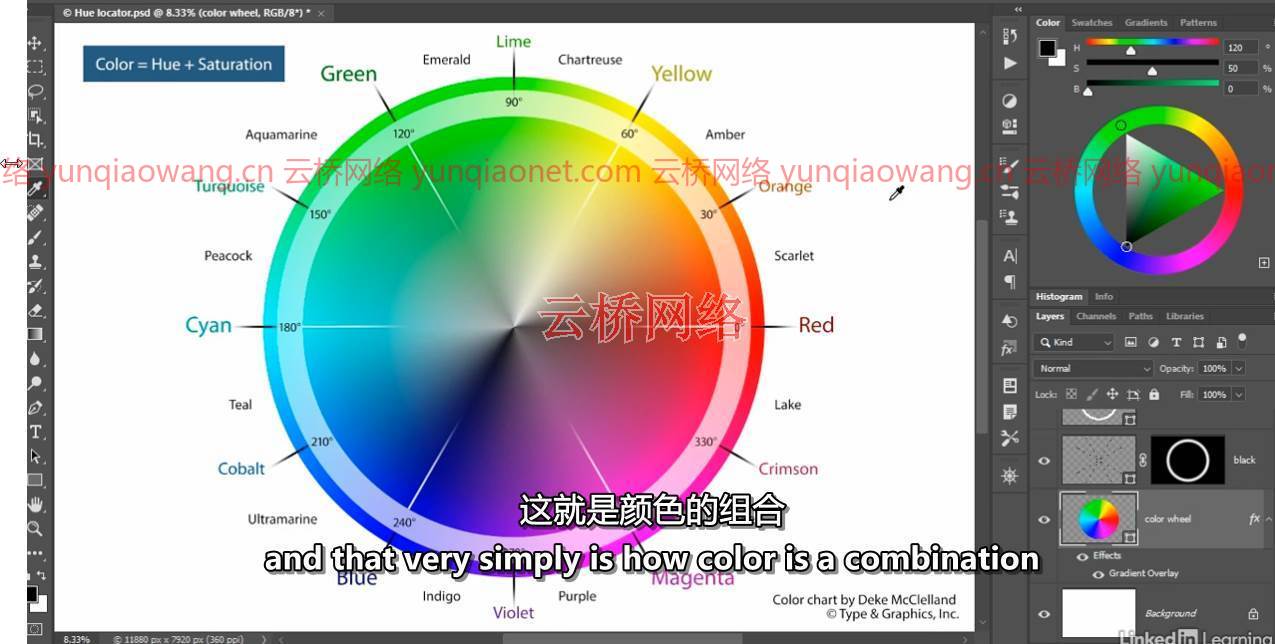
081颜色=色调+饱和度
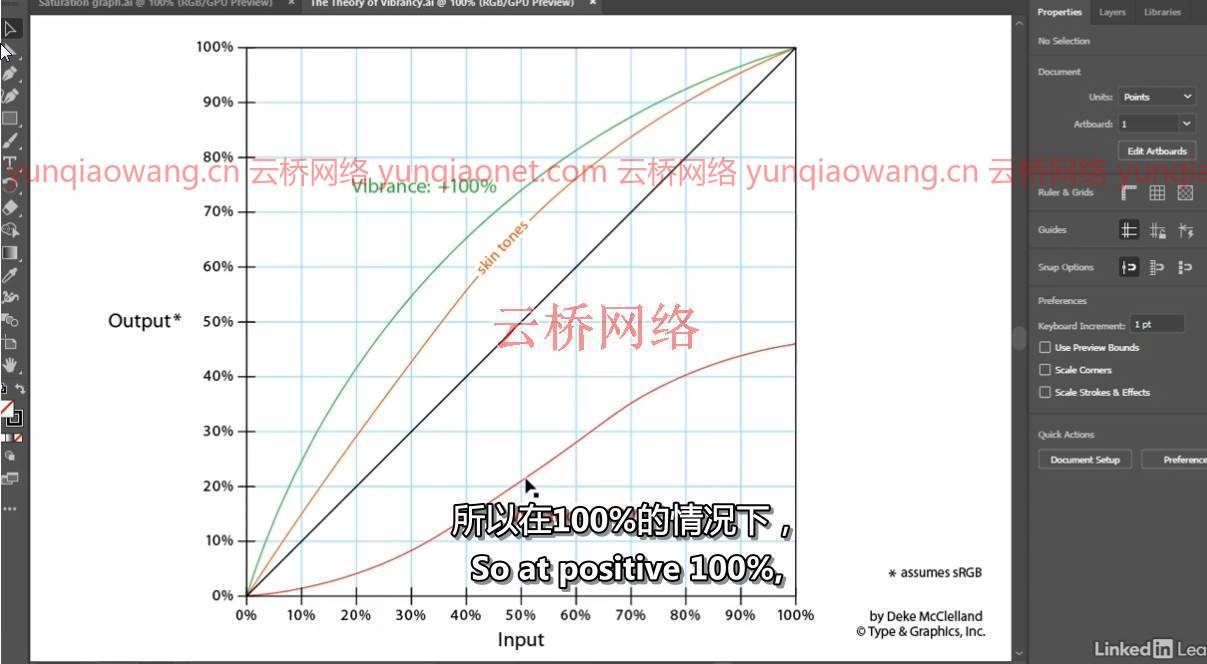
082活力是如何工作的
083在Photoshop中调整振动
084删除颜色样本标记
085调整相机原始图像的振动
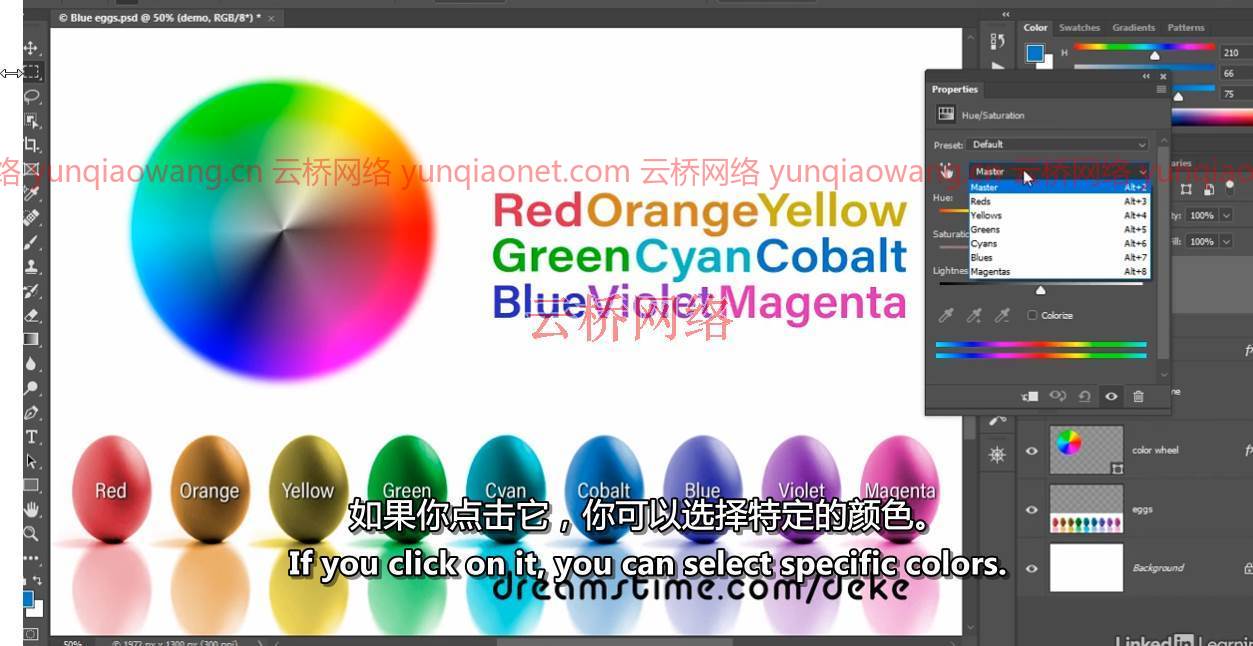
086引入色调饱和度
087使用目标调整工具
088选择性调整相机原始图像的颜色
089隔离相机原始图像中的颜色范围
090 Photoshop的选择能力
091选择和移动工具基础
092选择椭圆对象
093使用粘贴到命令
094使用复制合并命令
095添加、减去和相交选择
096使用魔杖工具
097使用三个套索工具
098使用快速选择工具绘画
099使用对象选择工具
100像素太多
101介绍Photoshop的裁剪工具
102裁剪而不删除任何像素
103纵横比和其他技巧
104使用参考点
105使用画布大小微调裁剪
106使用内容感知裁剪
107使用拉直工具的两种方法
108用直尺工具矫直
109裁剪掉所有透明像素
110相机原始图像中的裁剪和拉直
111使用透视裁剪工具
112裁剪画布外的一切
113学画画
114介绍画笔工具
115油漆压敏涂刷
116即时改变尺寸和硬度
117预览尺寸和硬度
118不透明度与流动性
119用波形键擦除
120度、角度和箭头键
121使用平滑选项
122自动对称绘画
123旋转和重置视图
124使用iPad作为侧边平板电脑
125你最好的脸向前
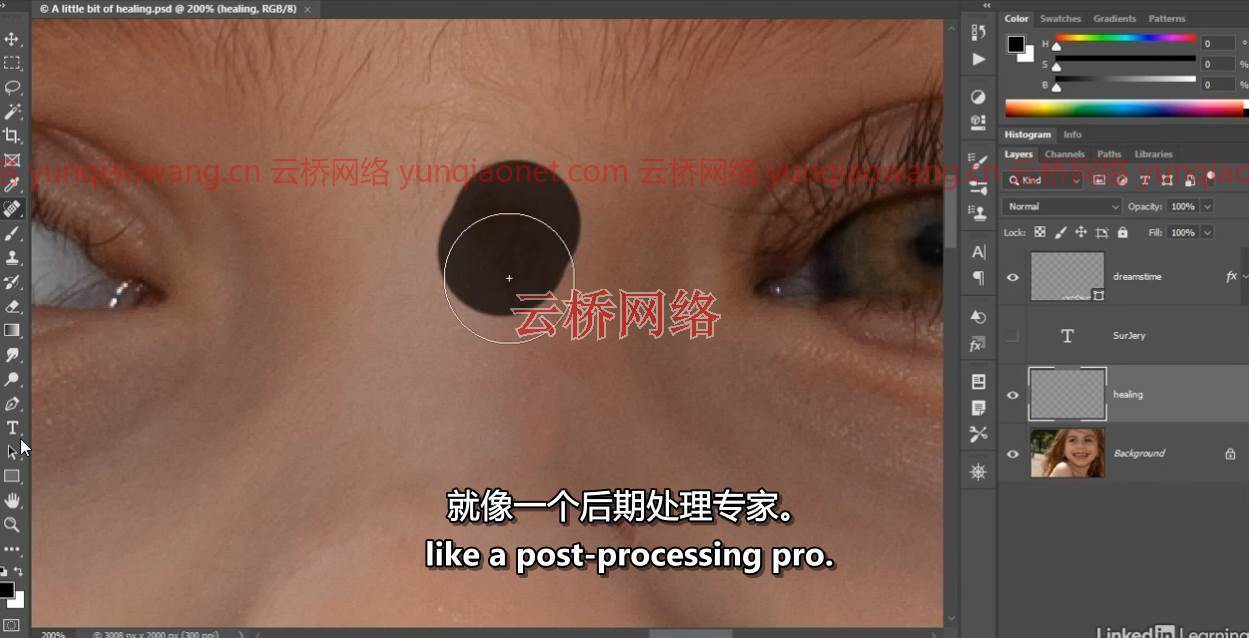
126使用斑点修复刷
127愈合至独立层
128使用标准治疗刷
129使用克隆源面板
130旋转源像素
131修复吹制高光
132使用修补工具
133按住Shift键点按以直线愈合
134美白牙齿的道奇和海绵工具
135相机原始斑点去除工具
136数字图像是如何工作的
137图像尺寸和分辨率
138介绍图像尺寸命令
139通用分辨率标准
140升采样与真实高分辨率数据
141更改打印分辨率
142打印下采样
143用于电子邮件和照片共享的下采样
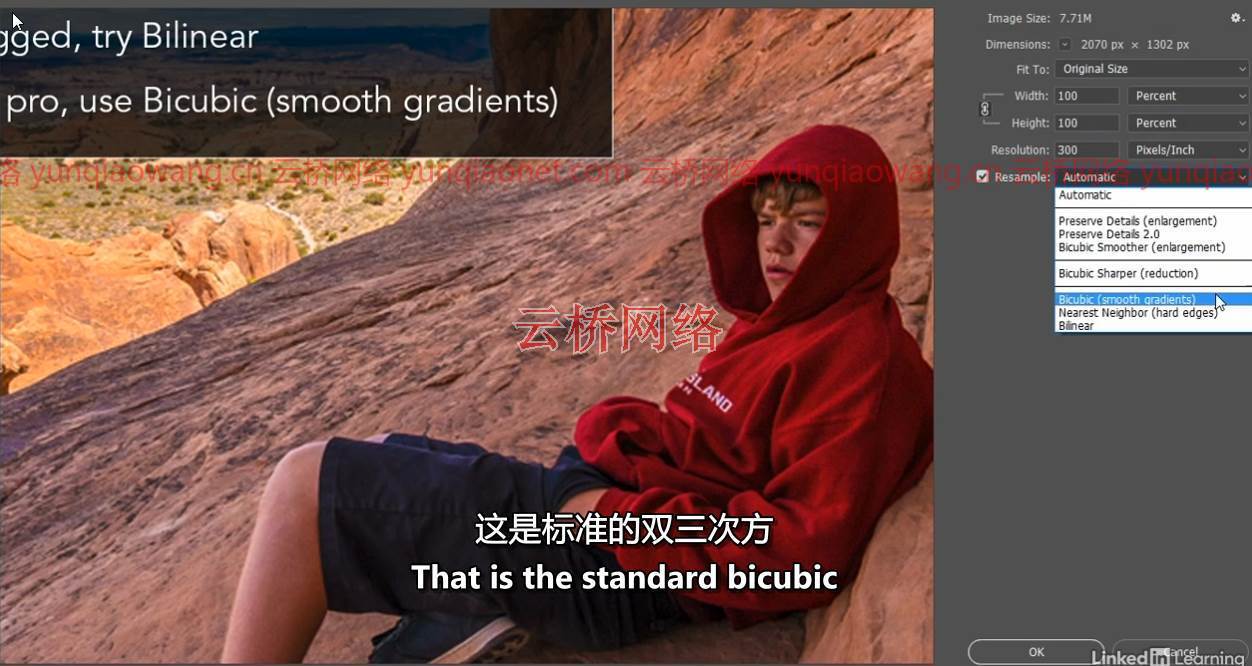
144七种插值设置
145采样的真实规则
146保留细节的上采样2.0
147从RGB而不是CMYK打印
148使用我的可定制打印机测试文件
149打印命令和色彩管理
150打印尺寸和位置
151在电脑上使用打印机专用选项
152在苹果电脑上使用打印机专用选项
153为打印增亮您的图像
154描述和印刷标记
155建立无边界出血
156张自由范围图像
157分配版权和联系信息
158一次复制多个图像
159颜色在网络上是如何工作的
160快速导出为巴布亚新几内亚
161快速导出为JPEG
162介绍老派拯救网络
163保存8位GIF或PNG
164保存动画GIF文件
165将基于矢量的图层导出为SVG
166导出多个层和组
167直到下次
Beginner | 13h 13m | 6.78 GB | Project Files | Software used: Photoshop
Title: Lynda – Photoshop 2021 One-on-One: Fundamentals
Info: Go one-on-one with world-renowned Photoshop expert Deke McClelland in this comprehensive course. Part one of a three-part series, this is your chance to learn everything you need to know about Photoshop, in the order you need to know it, complete with real-world examples and practical advice. Deke begins by explaining the many ways to open files in Photoshop. He steps you through working with layers and masks. Photoshop has almost as many ways of saving files as it has of opening them, and Deke covers all of them. He walks you through luminance, brightness, contrast, and color balance. He shows you how to develop photographic images in Camera Raw. He discusses the ability in Photoshop to edit an entire image at once or adjust a specific, selected region—and he walks you through every selection tool in the software. There’s so much more, including an entire chapter on retouching! To conclude this part, Deke explains how to save images for use on the web and mobile devices.
001 Welcome to one-on-one
002 How image editing begins
003 Opening a file by double-clicking it
004 The Home screen
005 The Open command
006 Opening from Adobe Bridge
007 Opening an image in Camera Raw
008 Let me show you around
009 Zooming in and out
010 Using the more precise Zoom tool
011 Reassigning Spotlight and Siri (Mac only)
012 Five ways to zoom continuously
013 Scrolling (or panning)
014 Bird’s eye and other scrolling tricks
015 Switching between open images
016 Cycling between screen modes
017 Using the Navigator panel
018 Panels and workspace – Do not skip
019 Resetting and updating workspaces
020 A few important preferences
021 The layered composition
022 Introducing the Layers panel
023 Converting the flat Background to a layer
024 Jumping an image onto a new layer
025 Flipping and scaling a layer
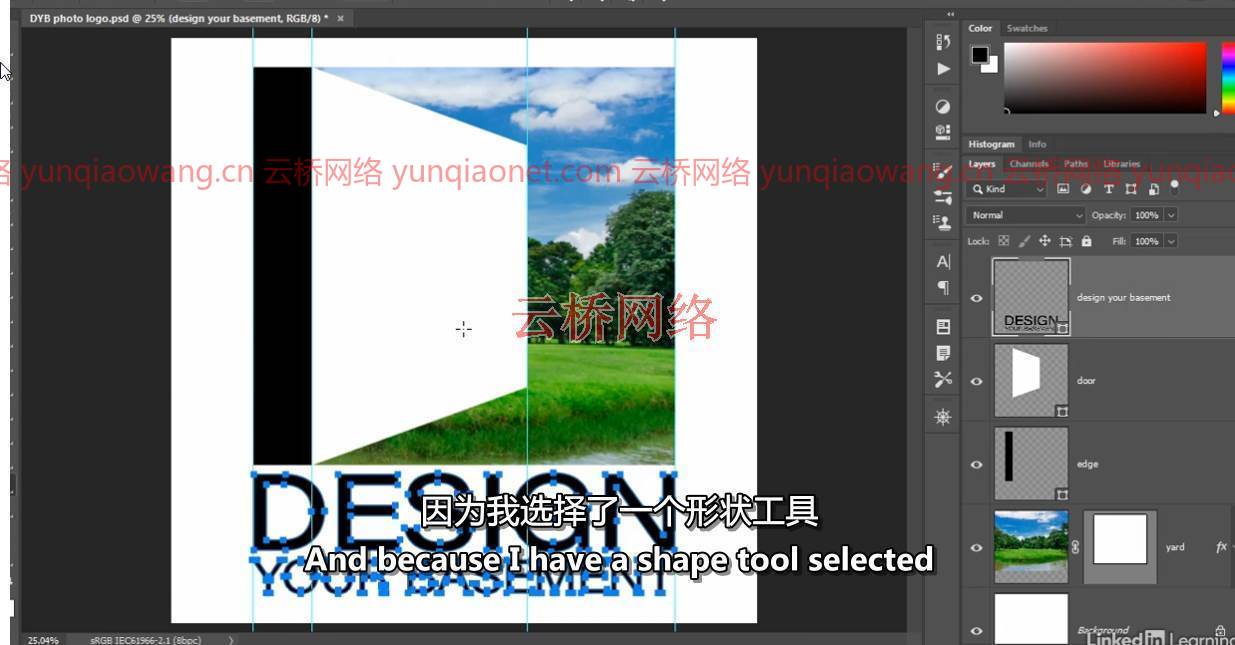
026 Adding a vector-based layer
027 Creating a basic layer mask
028 Clipping one layer inside another
029 Merging two layers into one
030 Auto Select and the Move tool
031 Inverting a layer mask
032 Adding depth with layer effects
033 Softening a mask with Feather
034 Three ways to copy and paste layers
035 Auto-zooming one or more layers
036 The many ways to save
037 Five essential things to know about saving
038 Revert, autosave, and more
039 Saving layers to the native PSD format
040 The Maximize Compatibility option
041 Saving a flat print image to TIFF
042 Saving an interactive image to PNG
043 Saving a flat photograph to JPEG
044 Saving a cloud-based PSDC file
045 Introducing luminance
046 How luminance works
047 The three auto commands
048 Auto-correcting photographs
049 Auto Brightness-Contrast
050 Custom Brightness-Contrast
051 Applying a dynamic adjustment layer
052 Adjustment layer tips and tricks
053 Adjustment layers and blend modes
054 Introducing the histogram
055 Putting the histogram to use
056 Isolating an adjustment with a layer mask
057 Color cast versus color harmony
058 Identifying the color cast of a photo
059 Correcting a color cast automatically
060 Using the Color Balance command
061 Revisiting the last-applied settings
062 Correcting white balance in Camera Raw
063 When Camera Raw disappoints
064 Adjusting a color cast with Photo Filter
065 Applying Auto Color nondestructively
066 Introducing Camera Raw
067 Camera Raw basics
068 Working with a developed image
069 Zooming and panning
070 Working with panels
071 Capture raw, convert to DNG
072 Correcting for lens distortion
073 Removing chromatic aberration
074 Exposure and Contrast
075 Highlights, shadows, whites, and blacks
076 Working with Texture, Clarity, and Dehaze
077 Opening and editing multiple images
078 The real purpose of the White Balance tool
079 Camera Raw tricks and tips
080 Hue, Saturation, and ‘Vibrance’
081 Color = Hue + Saturation
082 How Vibrance works
083 Adjusting Vibrance in Photoshop
084 Deleting color sample markers
085 Adjusting Vibrance in Camera Raw
086 Introducing Hue-Saturation
087 Using the Targeted Adjustment tool
088 Selectively adjusting colors in Camera Raw
089 Isolating a color range in Camera Raw
090 The selective power of Photoshop
091 Selection and Move tool basics
092 Selecting an elliptical object
093 Using the Paste Into command
094 Using the Copy Merged command
095 Add, subtract, and intersect selections
096 Using the Magic Wand tool
097 Using the three Lasso tools
098 Painting with the Quick Selection tool
099 Using the Object Selection tool
100 Too many pixels
101 Introducing Photoshop’s Crop tool
102 Cropping without deleting any pixels
103 Aspect ratio and other tricks
104 Working with the reference point
105 Finessing a crop with Canvas Size
106 Using Content-Aware Crop
107 Two ways to use the Straighten tool
108 Straightening with the Ruler tool
109 Cropping away all transparent pixels
110 Cropping and straightening in Camera Raw
111 Using the Perspective Crop tool
112 Cropping everything outside the canvas
113 Learning to paint
114 Introducing the Brush tool
115 Painting pressure-sensitive brushstrokes
116 Changing the size and hardness on-the-fly
117 Previewing size and hardness
118 Opacity versus Flow
119 Erasing with the tilde key
120 Roundness, Angle, and the arrow keys
121 Using the Smoothing options
122 Painting with automated symmetry
123 Rotating and resetting your view
124 Using an iPad as a sidecar tablet
125 Your best face forward
126 Using the Spot Healing Brush
127 Healing to an independent layer
128 Using the standard Healing Brush
129 Using the Clone Source panel
130 Rotating the source pixels
131 Restoring blown highlights
132 Using the Patch tool
133 Shift-clicking to heal in straight lines
134 The Dodge and Sponge tools to whiten teeth
135 The Camera Raw Spot Removal tool
136 How digital images work
137 Image size and resolution
138 Introducing the Image Size command
139 Common resolution standards
140 Upsampling vs. real high-resolution data
141 Changing the print resolution
142 Downsampling for print
143 Downsampling for email and photo sharing
144 The seven interpolation settings
145 Real-world rules for downsampling
146 Upsampling with Preserve Details 2.0
147 Print from RGB, not CMYK
148 Using my customizable printer test file
149 The Print command and color management
150 Print size and position
151 Using printer-specific options on the PC
152 Using printer-specific options on the Mac
153 Brightening your image for print
154 Description and printing marks
155 Establishing a borderless bleed
156 Free-range images
157 Assigning copyright and contact info
158 Copyrighting multiple images at a time
159 How color works on the web
160 Quick Export as PNG
161 Quick Export as JPEG
162 Introducing the old-school Save for Web
163 Saving an 8-bit GIF or PNG
164 Saving an animated GIF file
165 Exporting vector-based layers as SVG
166 Exporting multiple layers and groups
167 Until next time
1、登录后,打赏30元成为VIP会员,全站资源免费获取!
2、资源默认为百度网盘链接,请用浏览器打开输入提取码不要有多余空格,如无法获取 请联系微信 yunqiaonet 补发。
3、分卷压缩包资源 需全部下载后解压第一个压缩包即可,下载过程不要强制中断 建议用winrar解压或360解压缩软件解压!
4、云桥CG资源站所发布资源仅供用户自学自用,用户需以学习为目的,按需下载,严禁批量采集搬运共享资源等行为,望知悉!!!
5、云桥CG资源站,感谢您的赞赏与支持!平台所收取打赏费用仅作为平台服务器租赁及人员维护资金 费用不为素材本身费用,望理解知悉!