

技能分享——C4D介绍:初学者动画指南 时长:8小时 1280X720 MKV 大小解压后:5.58G 语言:英语+中文字幕(云桥CG资源站 机译)+原英文字幕
描述
这门课是为每个人和任何想学习如何使用C4D的人开设的。如果你以前从未打开过C4D,或者任何其他类型的3D应用程序,你将能够观看和跟随这门课的所有内容。
我将分享几个技巧和诀窍,帮助您正确使用C4D,开发快速高效的工作流程,以及我在过去10年与C4D的亲身经历中发现的几项技术。因此,即使你有一些在C4D的经历,你也可以从这门课中学到很多新东西。
这个大约8小时的课程分成两个部分。第1部分涵盖了C4D的各种主题和工具。第2部分是关于开发工作流和在真实项目上工作的例子。观看整个过程,在它结束时,你将能够打开C4D,开始创作你自己的动画。
第一部分:C4D的方方面面
入门-C4D菜单、界面和对象概述。快捷方式和项目设置
建模——看看各种建模工具和技术,以及在你的项目中去哪里寻找资产
照明——C4D的灯光类型及其设置,以及如何有目的地照明
材料——材料通道如何工作,如何制作风格化或逼真的材料
样条曲线-如何绘制路径,其他基于路径的对象,并生成几何图形
MoGraph-4D电影公司强大的“MoGraph”部分概述
动画-如何制作关键帧,使用时间轴,关键帧插值
相机-相机设置&平滑动态相机动画的最佳方式
第2部分:示例项目和工作流
这一部分着重于利用到目前为止所学的一切,并将其应用到实际项目中。你会看到一个完整的工作流程,从4D电影院的项目开始,然后输出它们,最后完成《特效制作》。在本节中,我们将继续介绍新的想法和概念,作为流程的一部分。这些项目是:
示例项目01——未来城市动画,有几座摩天大楼和飞行汽车
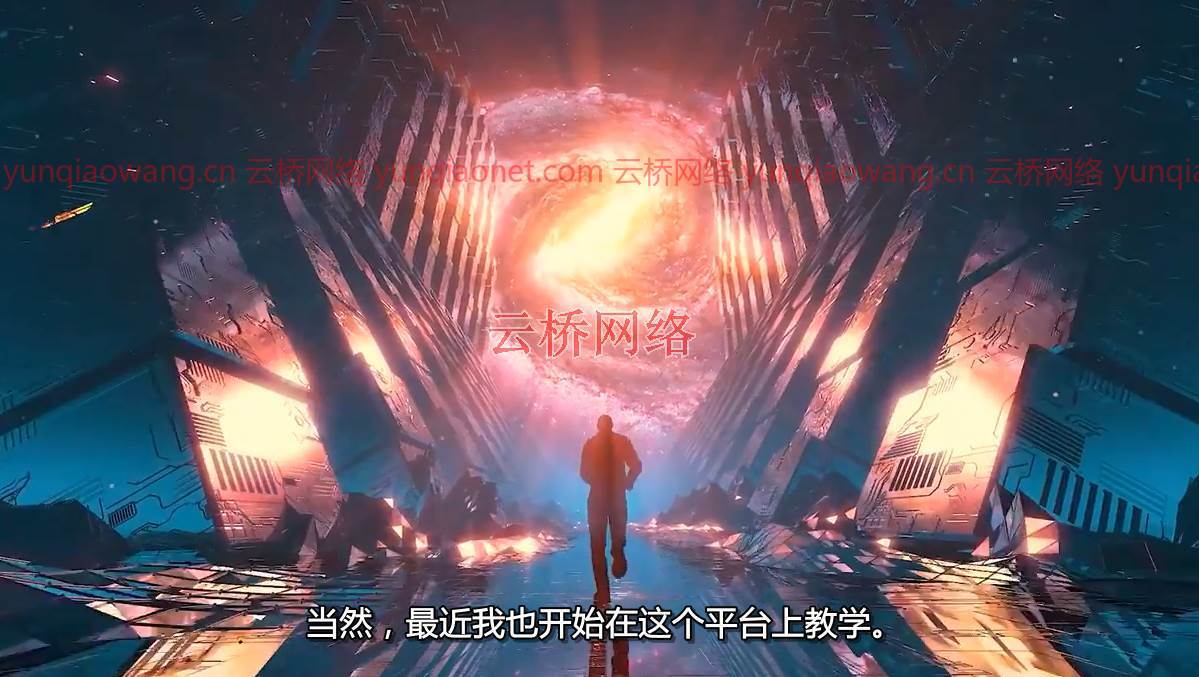
示例项目02 -科幻虫洞动画,循环动画。
在课程结束时,你将能够打开C4D并创建你自己的动画,让我们开始吧!


课程目录:
01-简介
02-导航_快捷方式
03-视口_选项
04-安装_插件_定制_用户界面
05-应用程序和项目设置
06-菜单项
07-移动_缩放_旋转_对象
08-对象_属性_和_标签
09-坐标_和_尺寸_选项
10-对象层次结构
11-建模-介绍_选择_模式
12-建模-挤出_挤出_内_斜角_工具
13-建模-细分_边
14-建模-添加_循环_切割
15-_照明-常规_照明_设置
16-照明-照明
17-照明-体积_和_光线
18-照明-区域照明
19-照明-自定义_照明_形状
20-光影
21-材料-照明_设置
22-材料-反射_通道
23-材料-使用_图像_材料
24-材料-凸起_和_正常_通道
25-_材料-混凝土_材料_分解
26-样条线-钢笔_工具
27-_样条-类型_和_中间_点
28-样条曲线-文本_和_样条曲线
29-样条线-打开illustator文件
30-样条曲线-样条曲线_遮罩
31-样条曲线-扫描_对象
32-样条曲线-挤出_对象
33-样条曲线-放样_和_车床_nurbs
34-mograph-cloner _对象
35-mograph-random_effector
36-mograph-plain _ effector _ and _ field
37-mograph-Voronoi _ fracture _ delay _ effector
38-mograph-fracture _ and _ mo _ text
39-动画-关键帧_和_时间轴
40-动画-动画_沿_样条线
41-摄像机-动画_沿_样条线
42-相机-变形_相机
43-建设城市
44-制造高速公路
45-制造汽车
46-建筑_材料_和_着色器
47-点亮城市
48-摄像机_动画
49-优化渲染质量和速度
50-输出_使用_多通道
51-在AE中合成
52-instagram和youtube的最终导出
53-建造虫洞
54-制造虫洞循环
55-动画宇航员
56-照明和渲染设置
57-AE合成最终输出
58-其他
Description
The class is for everyone and anyone that wants to learn how to use Cinema 4D. If you have never opened Cinema 4D before, or any other type of 3D application – you will be able to watch and follow along with everything in this class.
Skillshare – Introduction to Cinema 4D: A Beginner’s Animation Guide
I will be sharing several tip & tricks to help you use Cinema 4D the right way, develop a fast and efficient workflow and several techniques that I have discovered during my own experience with Cinema 4D over the last 10 years. So even if you have some experience in Cinema 4D, there will be a lot of new things that you can pick up from watching this class.
This roughly 8-hour long class split is organised into 2 general sections. Section 1 covers various topics and tools in Cinema 4D. Section 2 is about developing workflows and working on real projects as examples. Watch the whole thing and by the end of it you will be able to open Cinema 4D and start creating your own animation today!
Skillshare – Introduction to Cinema 4D: A Beginner’s Animation Guide
Section 1: Aspects of Cinema 4D
Getting Started – An overview of menus, interface & objects in Cinema 4D. Shortcuts & project settings
Modelling – A look at various modelling tools & techniques, and where to find assets to use in your projects
Lighting – The light types in Cinema 4D & their settings, and how to light with purpose
Materials – How material channels work, and making stylised or realistic materials
Splines – How to draw paths, other path-based objects, and generating Geometry
MoGraph – An overview of Cinema 4D’s powerful ‘MoGraph’ section
Animation – How to make keyframes, working with timelines, keyframe interpolation
Cameras – Camera settings & the best way to do smooth & dynamic camera animations
Section 2: Example Project & Workflows
This section focuses on using everything learnt up to this point, and applying it to real projects. You will see a full worklow from working on the projects in Cinema 4D, and outputting them and finishing in After Effects. During this section we will continue to introduce new ideas and concepts as part of the process. The projects are:
Example Project 01 – Futuristic City Animation with several skyscrapers & flying cars
Example Project 02 – Sci-Fi Wormhole animation, looped animation.
By the end of the class you will be able to open Cinema 4D and create your own animations, let get started!
01-introduction
02-navigation_shortcuts
03-viewport_options
04-installing_plugins_customizing_ui
05-application_and_project_settings
06-menu_iitems
07-moving_scaling_rotating_objects
08-object_attributes_and_tags
09-coordinates_and_size_options
10-object_hierachies
11-modelling-intro_selection_modes
12-modelling-extrude_extrude_inner_bevel_tools
13-modelling-subdividing_edges
14-modelling-adding_loop_cuts
15-_lighting-general_light_settings
16-lighting-light_fallof
17-lighting-volumetrics_and_light_rays
18-lighting-the_area_light
19-lighting-custom_light_shapes
20-lighting-shadows
21-materials-lighting_setup
22-materials-reflectance_channel
23-materials-using_images_in_materials
24-materials-bump_and_normal_channels
25-_materials-concrete_material_breakdown
26-splines-pen_tool
27-_splines-types_and_intermediate_points
28-splines-text_and_splines
29-splines-open_illustator_files
30-splines-spline_masks
31-splines-sweep_object
32-splines-extrude_object
33-splines-loft_and_lathe_nurbs
34-mograph-cloner_object
35-mograph-random_effector
36-mograph-plain_effector_and_fields
37-mograph-voronoi_fracture_delay_effector
38-mograph-fracture_and_mo_text
39-animation-keyframes_and_timeline
40-animation-animating_along_splines
41-cameras-animating_along_splines
42-cameras-morph_camera
43-building_the_city
44-making_the_highways
45-making_the_cars
46-building_materials_and_shaders
47-lighting_the_city
48-camera_animation
49-optimizing_render_quality_and_speed_
50-output_using_multi_passes
51-composting_in_after_effects
52-final_export_for_instagram_and_youtube
53-bulding_the_wormhole
54-making_the_wormhole_loop
55-animating_the_astronaut
56-lighting_and_render_settings
57-composting_in_after_effects_final_export
58-outro
1、登录后,打赏30元成为VIP会员,全站资源免费获取!
2、资源默认为百度网盘链接,请用浏览器打开输入提取码不要有多余空格,如无法获取 请联系微信 yunqiaonet 补发。
3、分卷压缩包资源 需全部下载后解压第一个压缩包即可,下载过程不要强制中断 建议用winrar解压或360解压缩软件解压!
4、云桥CG资源站所发布资源仅供用户自学自用,用户需以学习为目的,按需下载,严禁批量采集搬运共享资源等行为,望知悉!!!
5、云桥CG资源站,感谢您的关注与支持!


