时长:1h 29m |视频:. MP4 1280×720,30 fps(r) |音频:AAC,44100 Hz,2ch |大小:1.1GB
语言:英语+中英文字幕(云桥CG资源站 机译)
你会学到什么?
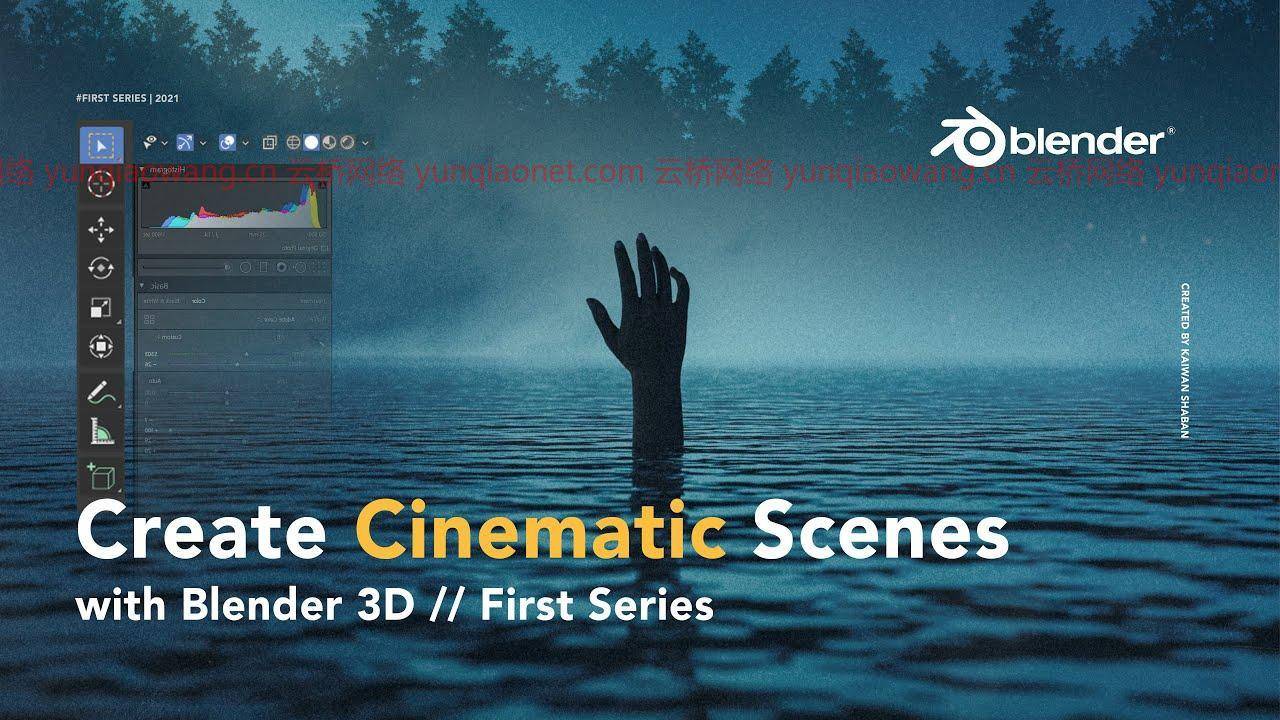
在本课程中,您将学习如何使用Blender、Adobe Photoshop和Lightroom创建这种电影场景。我会分解我的整个过程
开始前要知道的事情
如何找到自己的风格
我使用什么插件,从哪里可以得到我的模型
基础知识包括导航和我用来创作作品的工具。
对象模式和编辑模式的区别。
如何创建一个环境并为你的场景添加天空
我们将进入阴影选项卡,在那里我们将创建材质来创建一个逼真的海洋外观。
如何复制我们的对象
如何导入模型
了解相机及其功能。
然后,我们将渲染我们的场景&将其导入Lightroom,并进行颜色分级,以使艺术品栩栩如生。最后,我们将去photoshop做一些最后的调整,到本课程结束时,您将能够创作出这样的艺术品!
Duration: 1h 29m | Video: .MP4 1280×720, 30 fps(r) | Audio: AAC, 44100 Hz, 2ch | Size: 0.98 GB
Genre: eLearning | Language: English
WHAT YOU WILL LEARN?
In this course, you will learn how to create this cinematic scene using Blender, Adobe Photoshop, and Lightroom. I will break down my entire process
Such as
Things to know before starting
How to find your style
What Plugins do I use and where do I get my models’
Basics including navigation and the tools that I use to create my artworks.
Difference between Object and Edit mode.
How to create an environment and add sky to your scenes
We will dive to the shading tab and that’s where we will create materials to create a realistic ocean look alike.
How to duplicate our object
How to import a model
Learn all about cameras and how they function.
Then we will render our scene & import it to Lightroom and do color grading to make the artwork come to life. finally, We will go to photoshop to do some final adjustments and by the end of this course, you will be able to create an artwork like this!
1、登录后,打赏30元成为VIP会员,全站资源免费获取!
2、资源默认为百度网盘链接,请用浏览器打开输入提取码不要有多余空格,如无法获取 请联系微信 yunqiaonet 补发。
3、分卷压缩包资源 需全部下载后解压第一个压缩包即可,下载过程不要强制中断 建议用winrar解压或360解压缩软件解压!
4、云桥CG资源站所发布资源仅供用户自学自用,用户需以学习为目的,按需下载,严禁批量采集搬运共享资源等行为,望知悉!!!
5、云桥CG资源站,感谢您的关注与支持!


