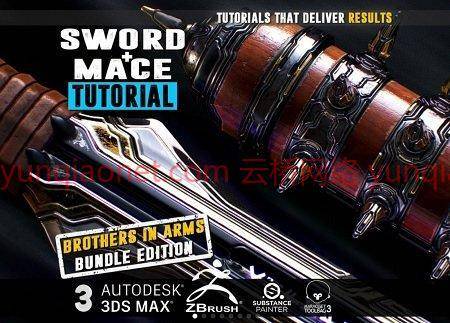
持续时间18h 32分 包括素材项目源工程文件材质贴图笔刷等 1920X1080 MP4 语言:英语+机译中文字幕 教程大小:16G
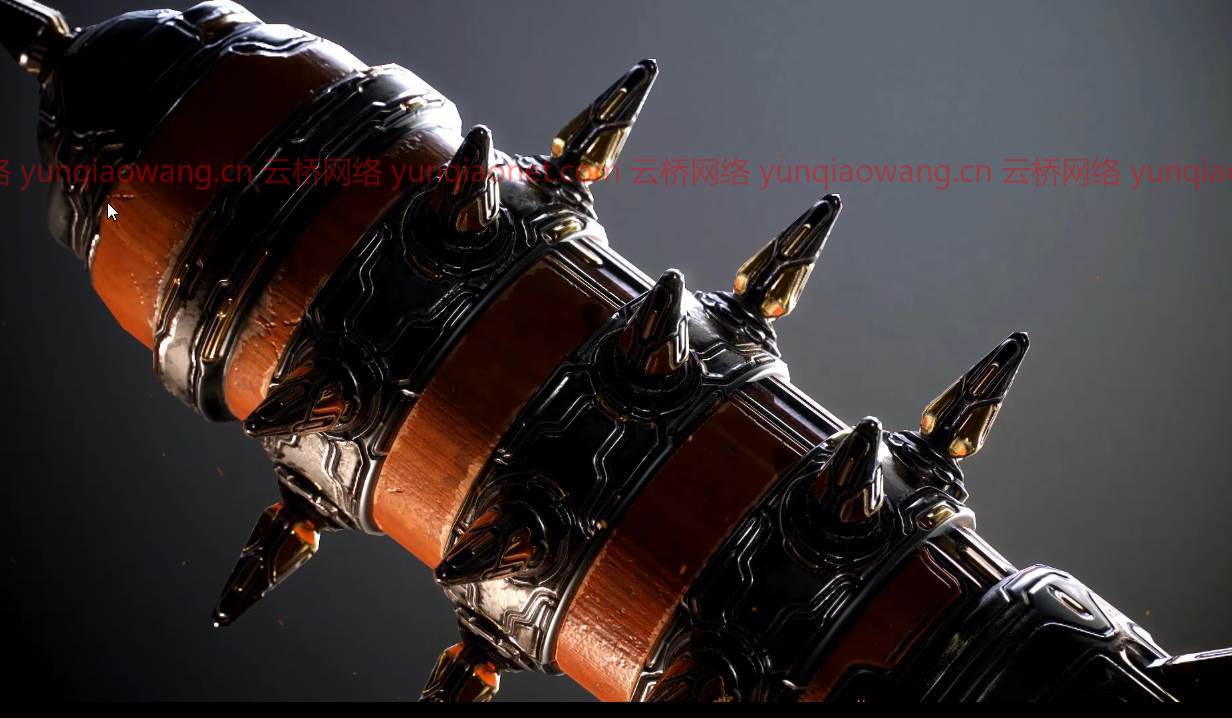
本教程详细讲解了两个案例 琅琊榜 和剑 的全流程制作
标题:Gumroad–剑与锤教程终极捆绑版–Tim Bergholz
信息:
包括:
20高清视频文件
低和高保利文件,以防你只想遵循某些章节。
基本参考图像
持续时间:18小时32分钟视频MP4格式,全英文音频+中文字幕解说
关于本教程
终极近战捆绑版!你将得到剑和狼牙棒教程与一点节省顶部。
在ZBrush、3Ds Max、Substance Painter和portfolio ready渲染中创建3A质量的游戏艺术。
你有没有想过在电子游戏行业做一个3D艺术家,碰巧喜欢狼牙棒和刀剑?那么这些教程就非常适合你了。跟随我们的阻挡,雕刻,展开,烘焙和纹理到3A的视频游戏标准。每一步都有文档记录,没有快速转发,还包括“ZBrush初学者指南”,它将在30分钟内检查您需要知道的所有内容。
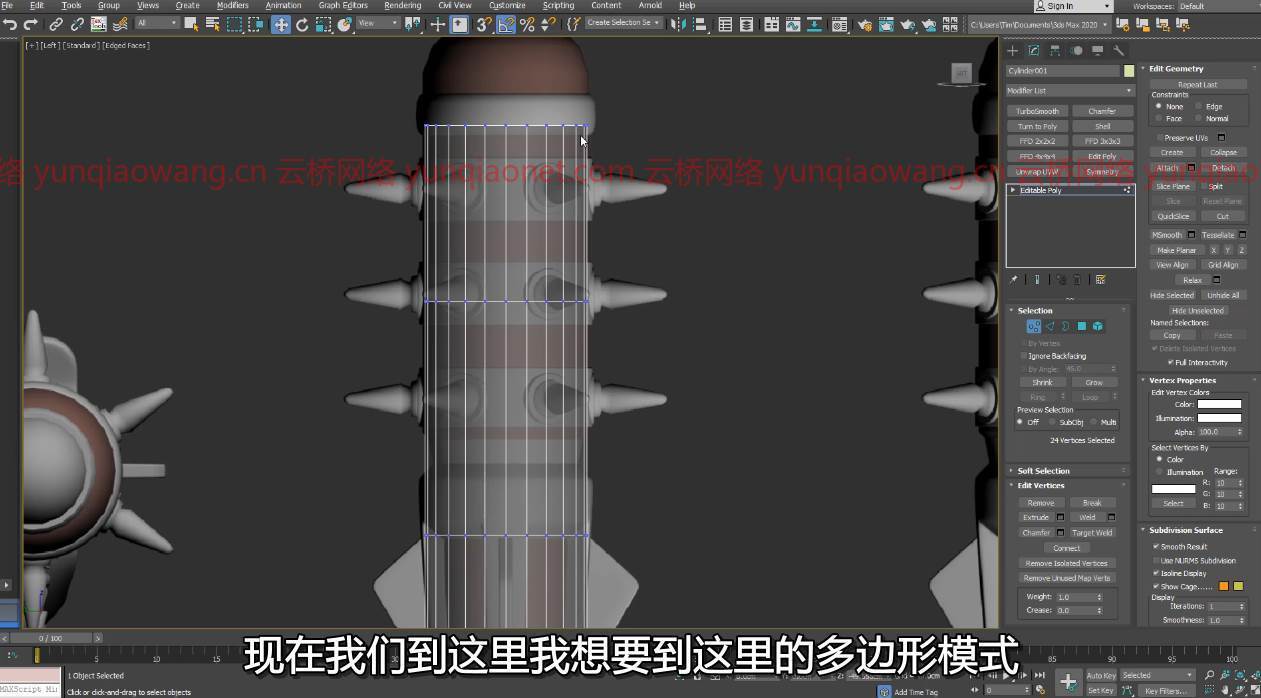
3Ds Max–封锁
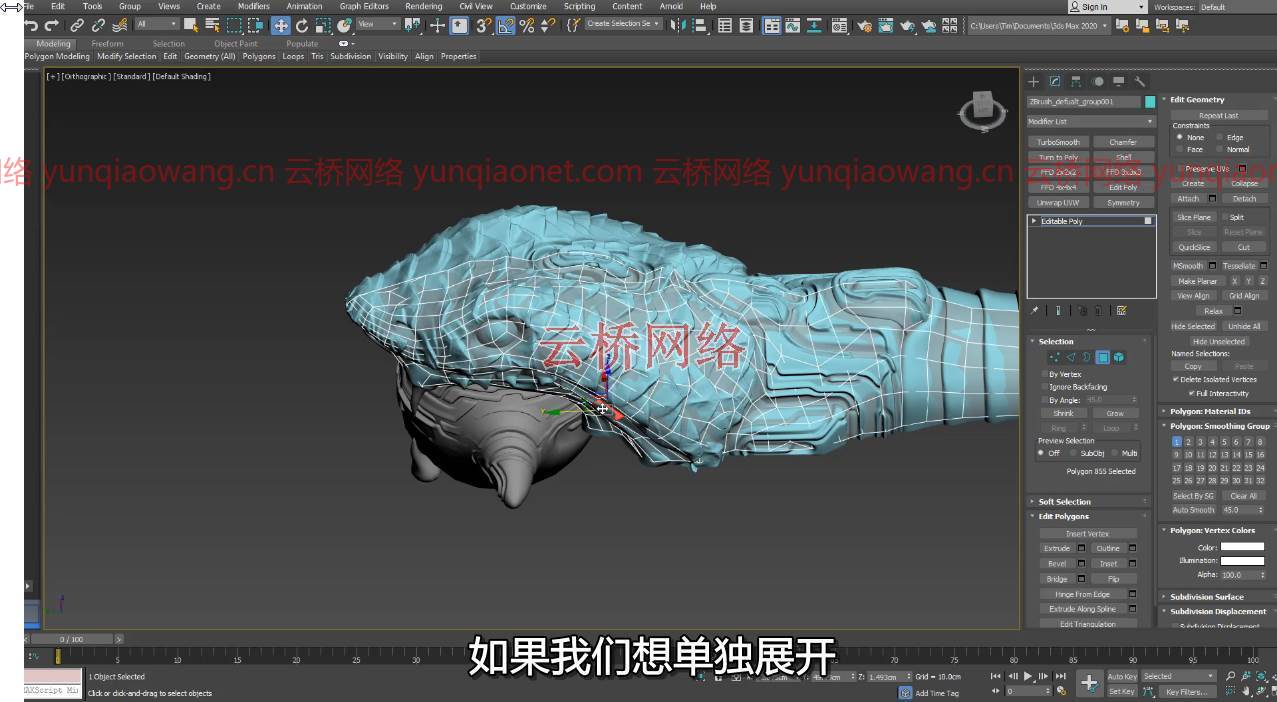
Mace和剑术教程都是从3Ds Max开始的,我们在3Ds Max中设置了参考图像,然后创建了一个块版版本,该版本的目的是获得一个我们将导入到ZBrush的基础网格。
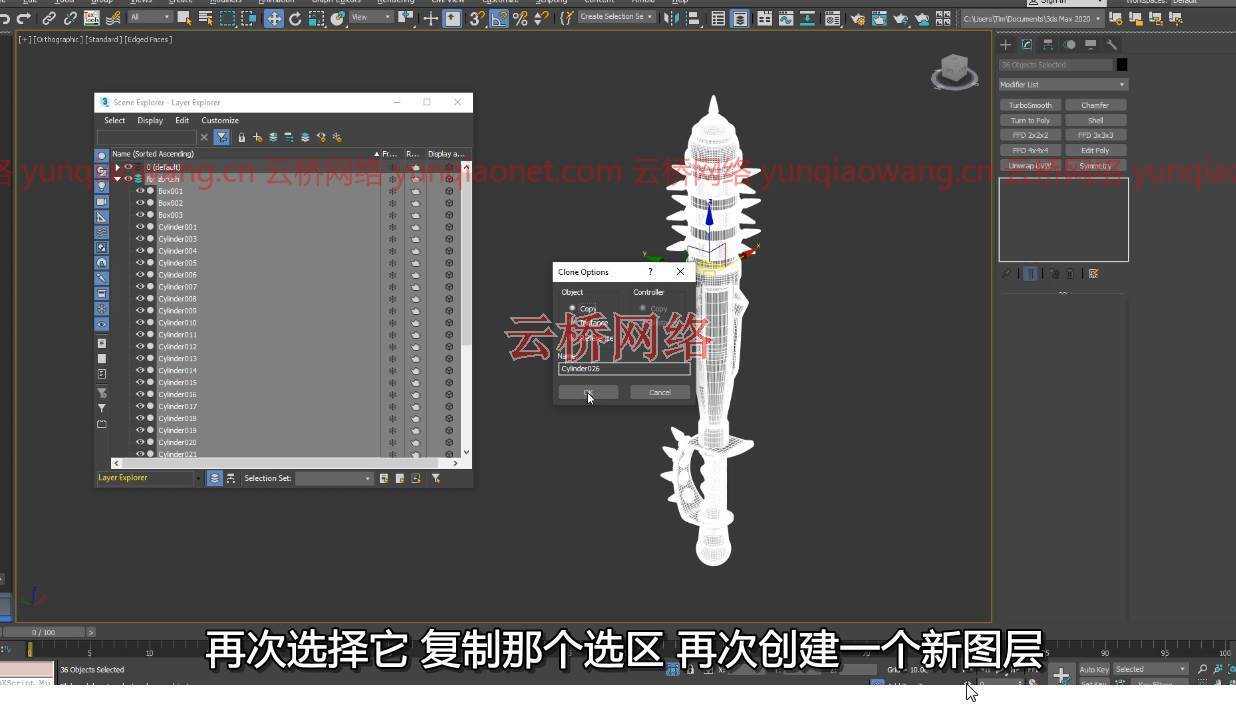
ZBrush–高多边形模型
在3DS MAX中创建块模型后,我们将其导入到ZBrush,然后使用Zremesher和其他工具准备highpoly建模。这些长达数小时的章节,特别是剑术教程的目的是让你成为一个ZBrush专家,因为我们将有机(头骨和蛇头)与硬表面元素结合起来。边做边学,一边创建我们的highpoly模型,利用任何有助于我们充分利用ZBrush的特性和功能。
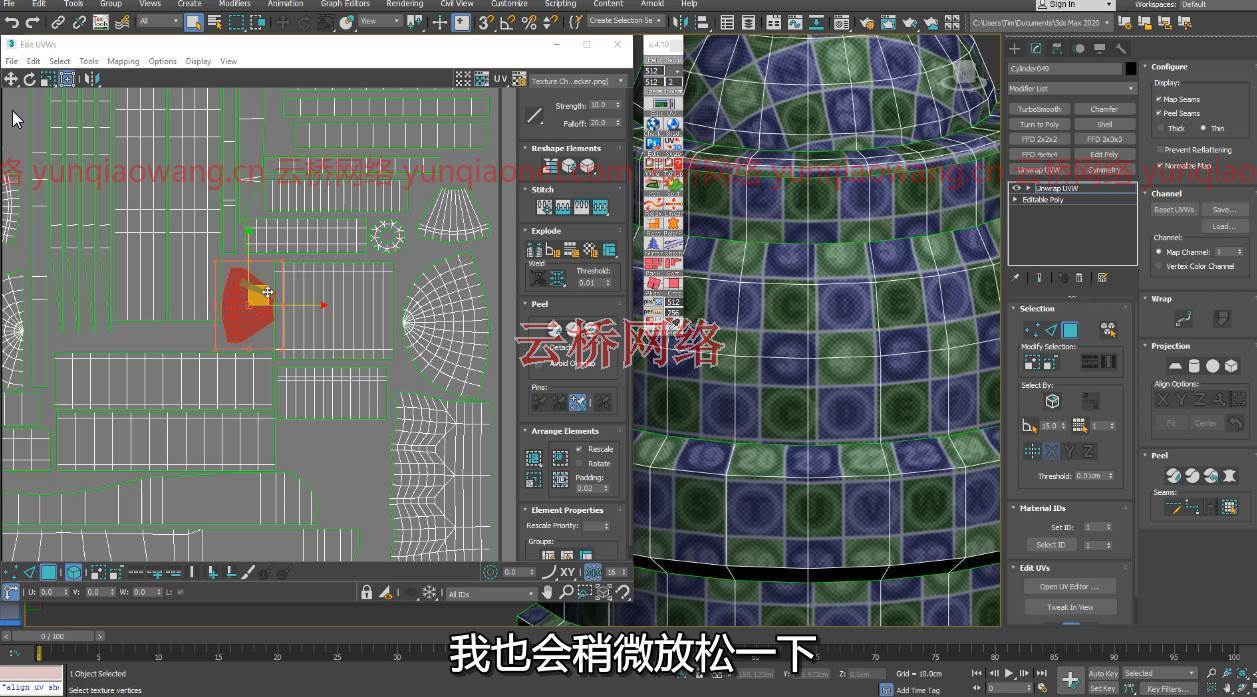
学习工具,小工具,画笔,蒙版,zremeser,Dynamesh…以及在Zbrush中创建aaa内容所需了解的所有东西。在剑术ZBrush部分的最后,你将学习如何使用ZRemesher创建一个基本的lowpoly版本,这是一个巨大的节省时间,而不是必须重新拓扑从零开始。
3Ds Max–Lowpoly和展开
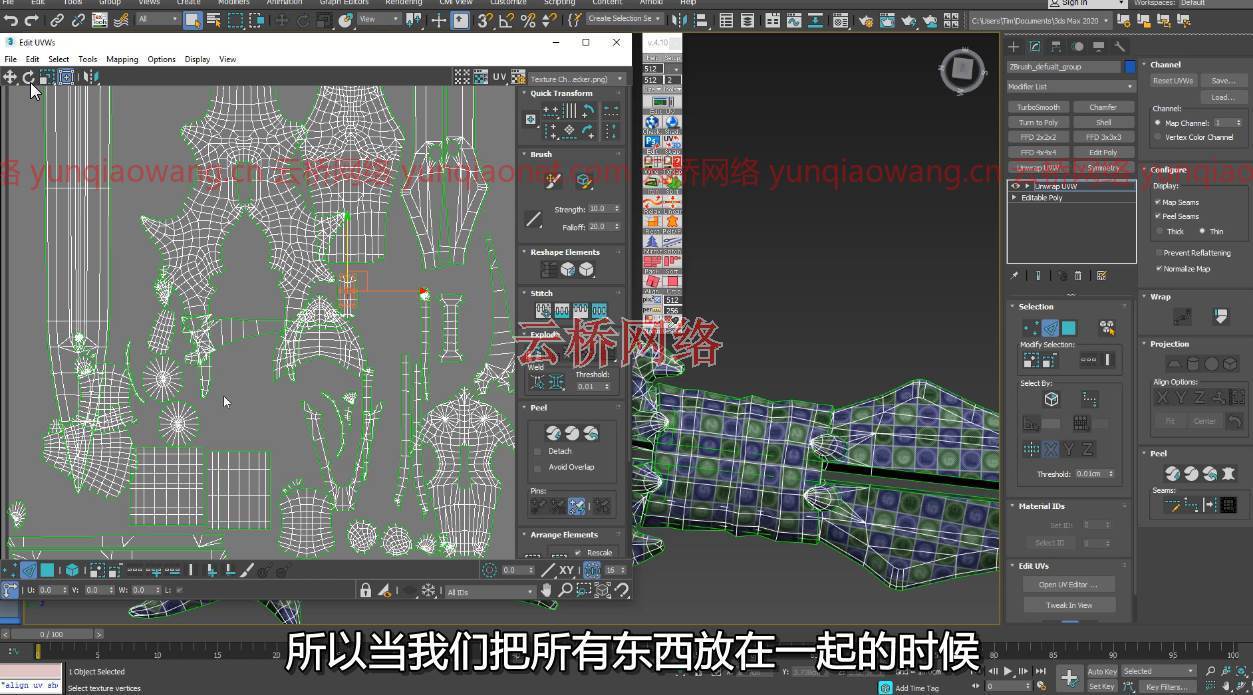
在ZBrush中完成后,我们将完成的highpoly模型导出回3DS Max,并创建一个游戏就绪的lowpoly模型。在剑术教程中,我们将使用我们在ZBrush中创建的zremeshed部分,以及合并原始blockout模型的部分。在lowpoly阶段之后,我们将跳入UV编辑器并开始展开,以便为以后的纹理提供完美的UV布局。在剑术和MACE教程的最后,我们将通过确保我们有正确的命名约定、平滑组设置以及指定的材质来准备低多边形和高多边形模型。
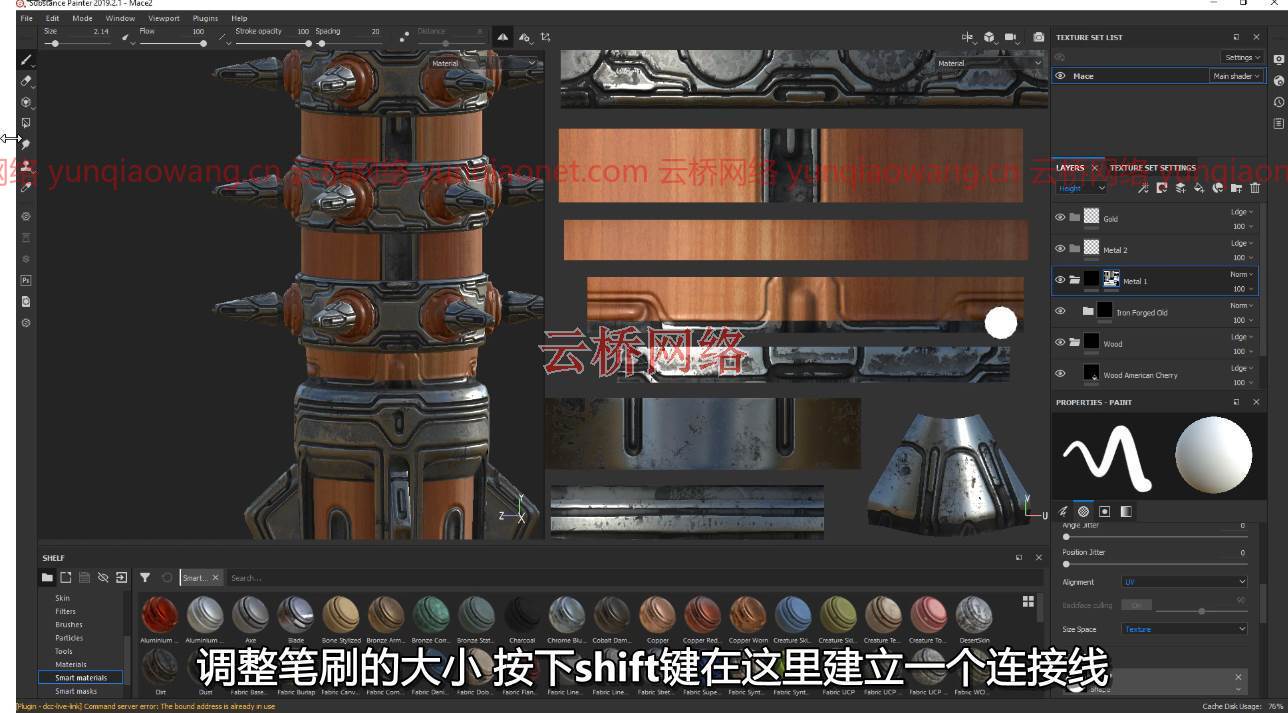
Substance Painter-纹理
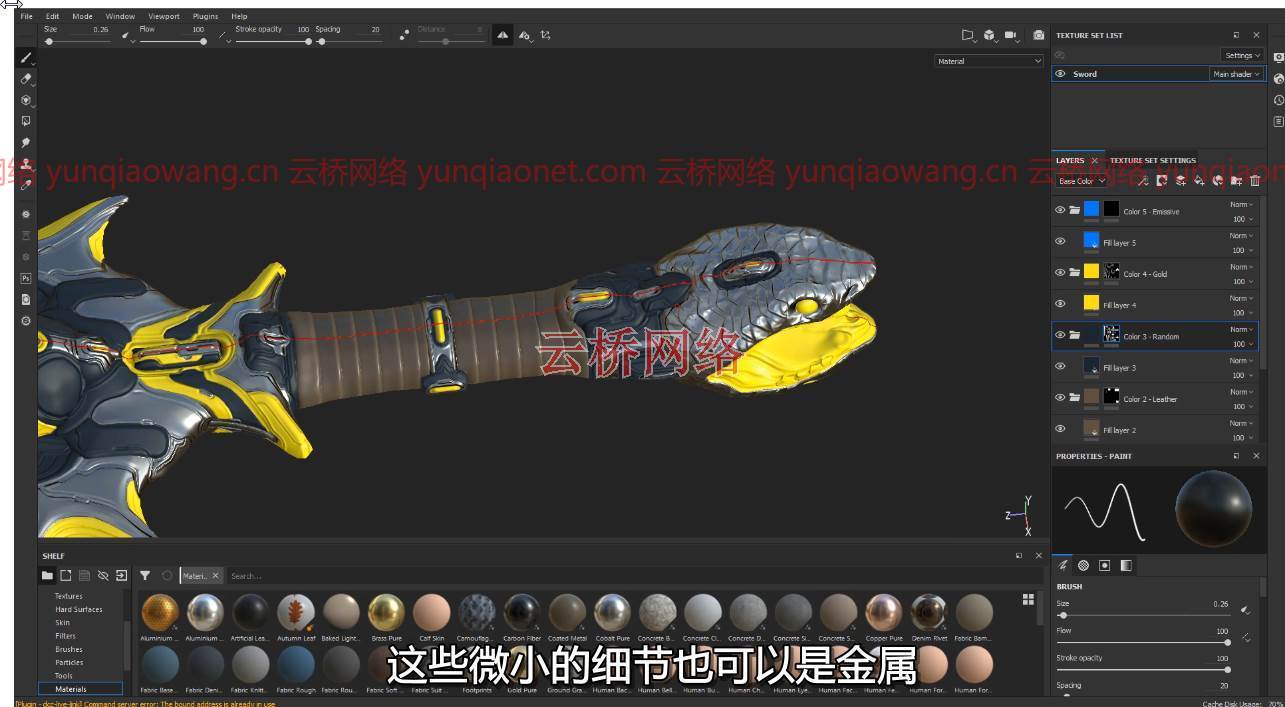
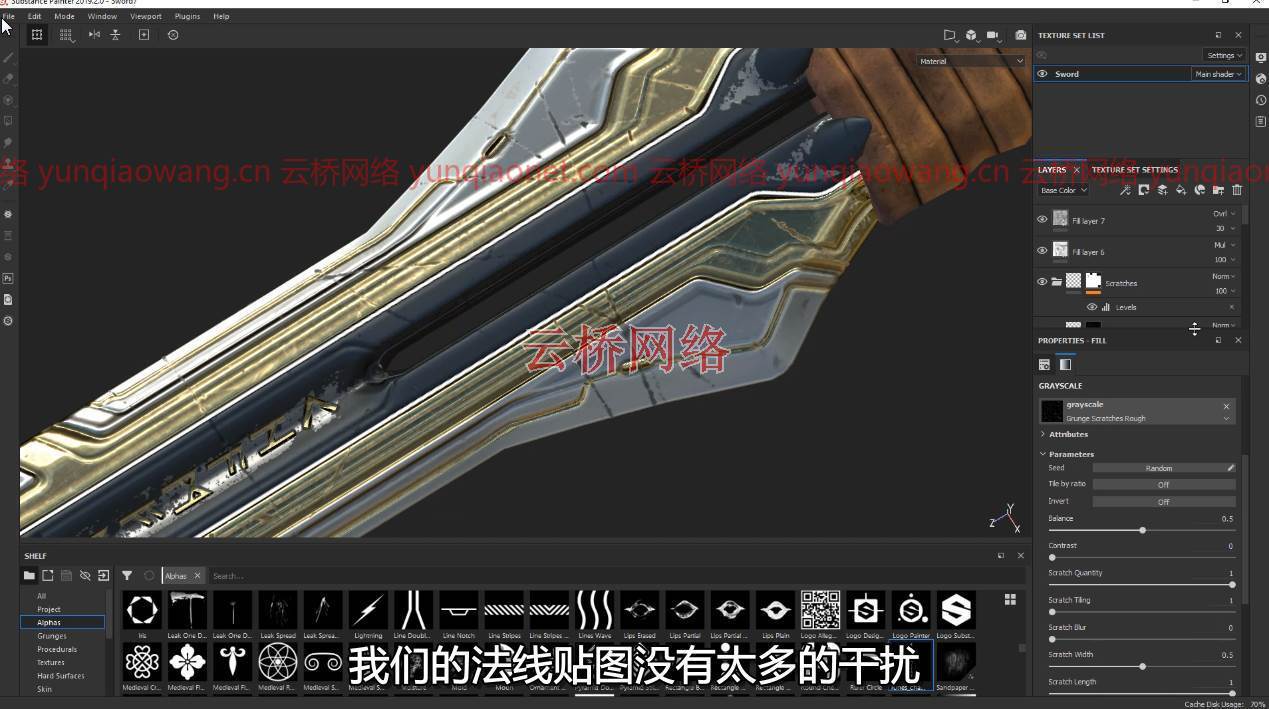
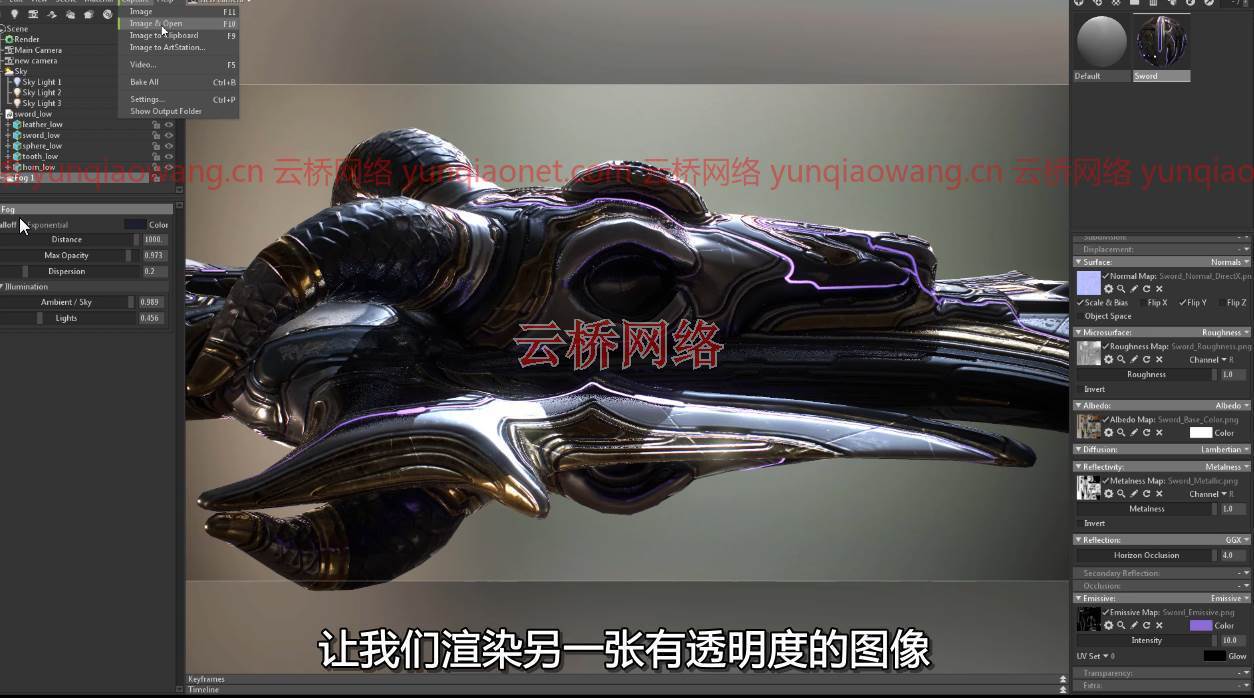
在物质绘制部分,我们将烘焙法线贴图以及其他重要的支持贴图。之后你将学习如何制作超逼真的纹理。学习如何创建基础层材料,以及如何使用程序纹理,面具和发电机,形成磨损我们的剑造成照片逼真的外观。您还将了解Substance Painter目前提供的最新工具。学习如何在神秘的符文印章,以及利用发射通道(仅剑)这个额外的酷的外观。
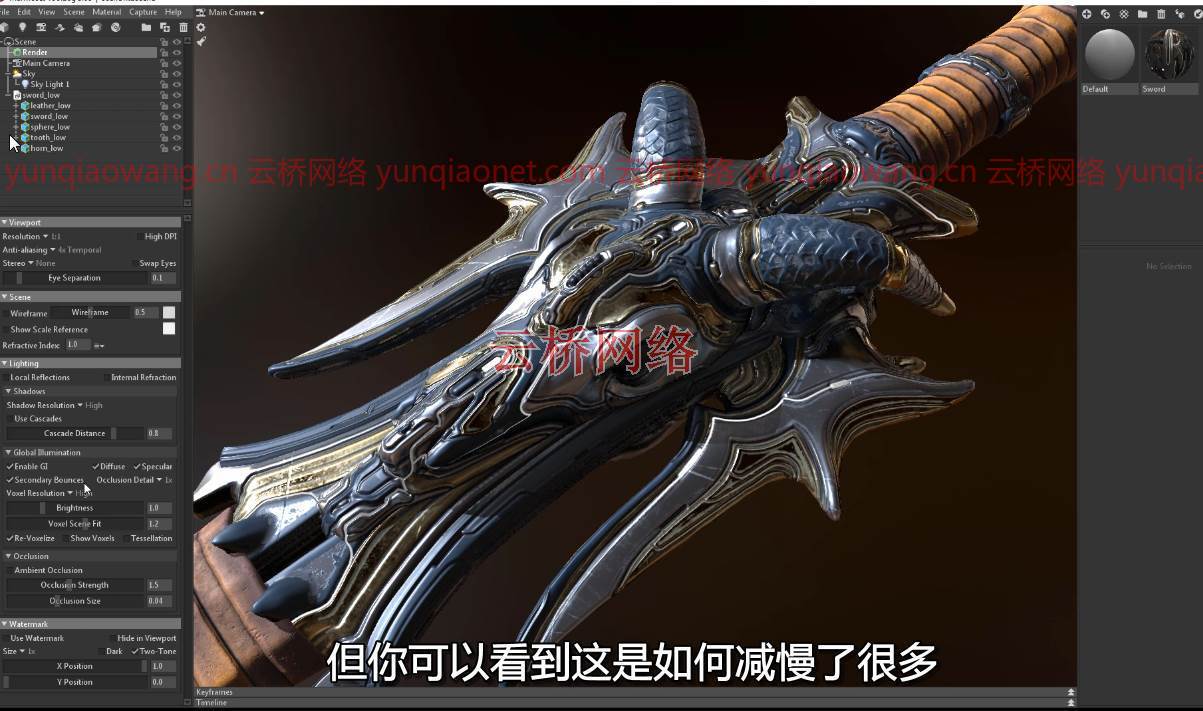
狨猴工具包3-公文包准备渲染(仅限于剑)
最后,我们将做一个简短的访问狨猴工具包3,我们在那里创建公文包准备渲染。了解照明设置如何与狨猴功能强大的相机设置相结合,以及在Photoshop中创建拼贴。
有什么要求?
建议您使用本教程中使用的相同软件:3Ds Max 2020、ZBrush 2019(或2020)以及最新版本的Substance Painter、Marmoset Toolbag 3和Photoshop。(最后两个不是必须的,因为主要关注的是建模和纹理)
Duration 18h 32m Project Files Included MP4
Title: Gumroad – Sword & Mace Tutorial Ultimate Bundle Edition – Tim Bergholz
Info:
Includes:
20 HD Video Files
Low and highpoly files in case you just want to follow along certain chapters.
Essential reference images
Duration: 18hrs 32 min video MP4 format with full audio commentary in English
ABOUT THIS TUTORIAL
The ultimate melee bundle edition! You will get both the SWORD and the MACE Tutorial with a bit of a saving on top.
Create TRIPLE A Quality game art in ZBrush, 3Ds Max, Substance Painter and portfolio ready renders in Marmoset Toolbag 3. Do you think about a career in the video game industry as a 3D Artist and happen to like maces and swords? Then these tutorials are perfect for you. Follow along as we block out, sculpt, unwrap, bake and texture to triple A video game standards. Every step is documented without fast forwarding Also included is the “Beginners Guide to ZBrush” that will go over everything you need to know in 30 minutes.
3Ds Max – Blockout
Both the Mace and the Sword tutorial start in 3Ds Max where we set up our reference image and then create a block out versions which serve the purpose to have a base meshes that we will import to ZBrush.
ZBrush – High Poly modeling
After we create the blockout model in 3DS MAX we are going to import it to ZBrush where we then use Zremesher and other tools in preparation of the highpoly modeling. These multiple hour long chapters, especially of the sword tutorial aim to make you a ZBrush expert as we combine organic (skull and snake head) with hard surface elements. Learning by doing as we create our highpoly models and make use of any feature and function that helps us getting the most out of ZBrush.
Learn about tools, subtools, brushes, masking, Zremesher, Dynamesh… and pretty much anything else you need to know to create triple A content within Zbrush. At the end of the Sword ZBrush part you will learn how to use ZRemesher to create a base lowpoly version which is a massive time save over having to retopologize the lowpoly from scratch.
3Ds Max – Lowpoly & Unwrapping
After we are done in ZBrush we export our finished highpoly models back into 3DS Max and create a game ready lowpoly model. In the Sword tutorial we will make use of the zremeshed parts that we created in ZBrush as well as combining parts of the of the original blockout model. After the lowpoly phases we will jump into the UV Editor and start unwrapping in order to have the perfect UV layout for out later texture. At the end of both the SWORD and the MACE tutorials we will prepare the low and highpoly models by making sure we have the right naming convention, smoothing group setup as well as materials assigned.
Substance Painter – Texturing
In the Substance Painter part we will then bake our normal map as well as other important support maps. Right after that you will learn how to make an ultra realistic textures. Learn how to create base layer materials and how to use procedural textures, masks and generators to form up the wear and tear on our sword resulting in a photo realistic appearance. You will also get to know the latest tools that Substance Painter currently has to offer. Learn how to stamp in mysterious rune text as well as making use of the emissive channel (SWORD only) for this extra cool look.
Marmoset Toolbag 3- Portfolio ready renders (SWORD only)
As a finishing touch we will make a short visit to Marmoset Toolbag 3 where we create portfolio ready renders. Learn how lighting setup works in combination with Marmosets powerful camera settings as well as creating collages in Photoshop.
What are the requirements?
It is recommended to follow the course with the same software we use throughout the tutorial: 3Ds Max 2020, ZBrush 2019 (or 2020) as well as the latest version of Substance Painter, Marmoset Toolbag 3 and Photoshop. (last two are not a must as the main focus is on modeling and texturing)
1、登录后,打赏30元成为VIP会员,全站资源免费获取!
2、资源默认为百度网盘链接,请用浏览器打开输入提取码不要有多余空格,如无法获取 请联系微信 yunqiaonet 补发。
3、分卷压缩包资源 需全部下载后解压第一个压缩包即可,下载过程不要强制中断 建议用winrar解压或360解压缩软件解压!
4、云桥CG资源站所发布资源仅供用户自学自用,用户需以学习为目的,按需下载,严禁批量采集搬运共享资源等行为,望知悉!!!
5、云桥CG资源站,感谢您的赞赏与支持!平台所收取打赏费用仅作为平台服务器租赁及人员维护资金 费用不为素材本身费用,望理解知悉!


