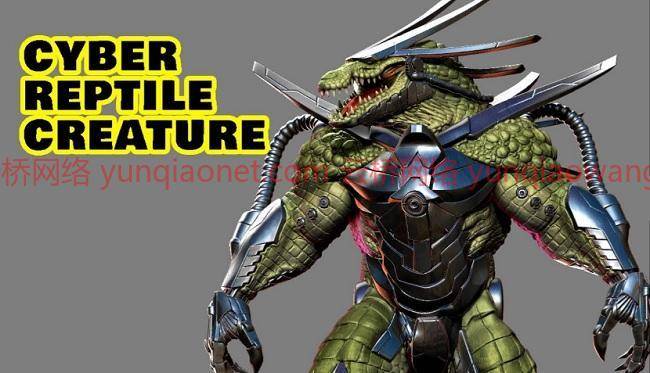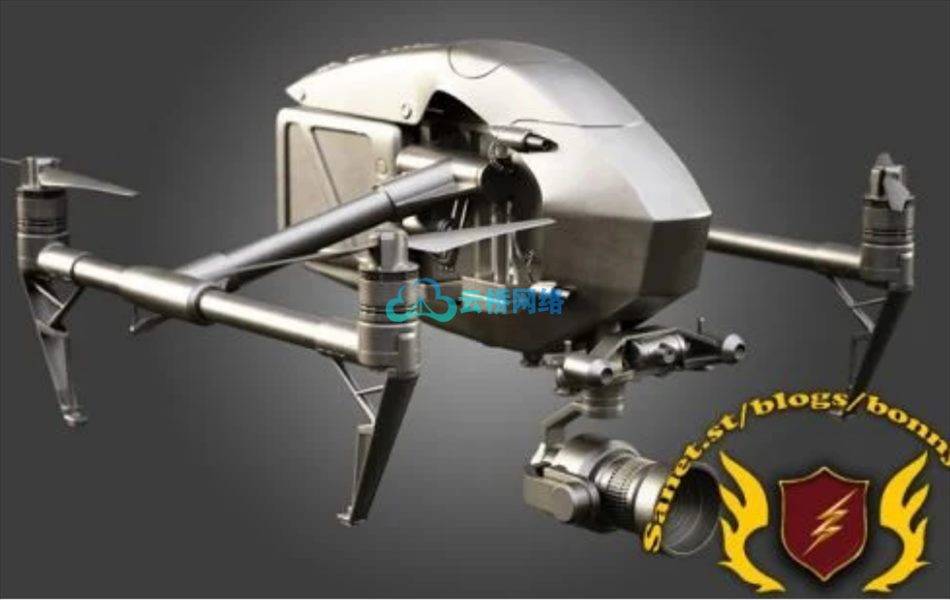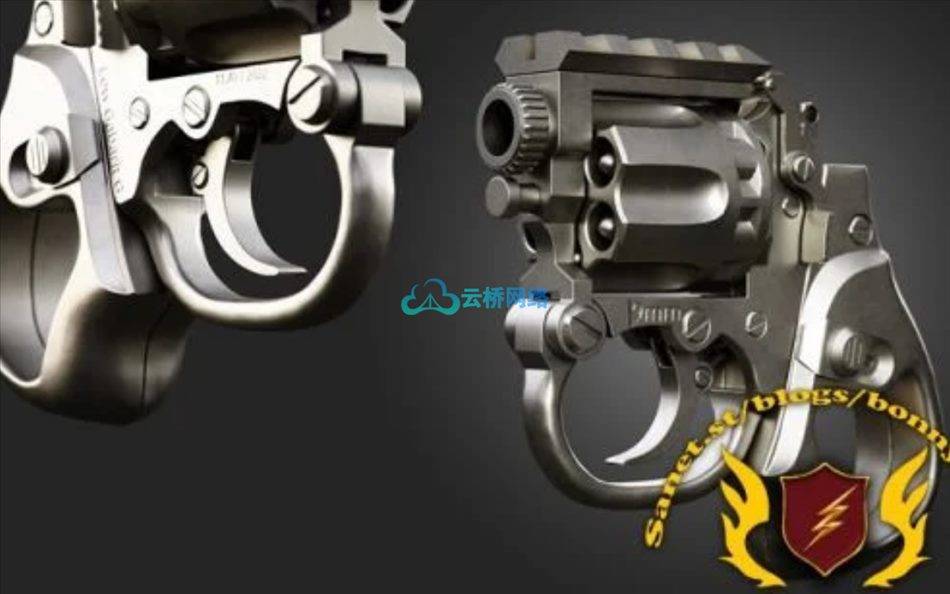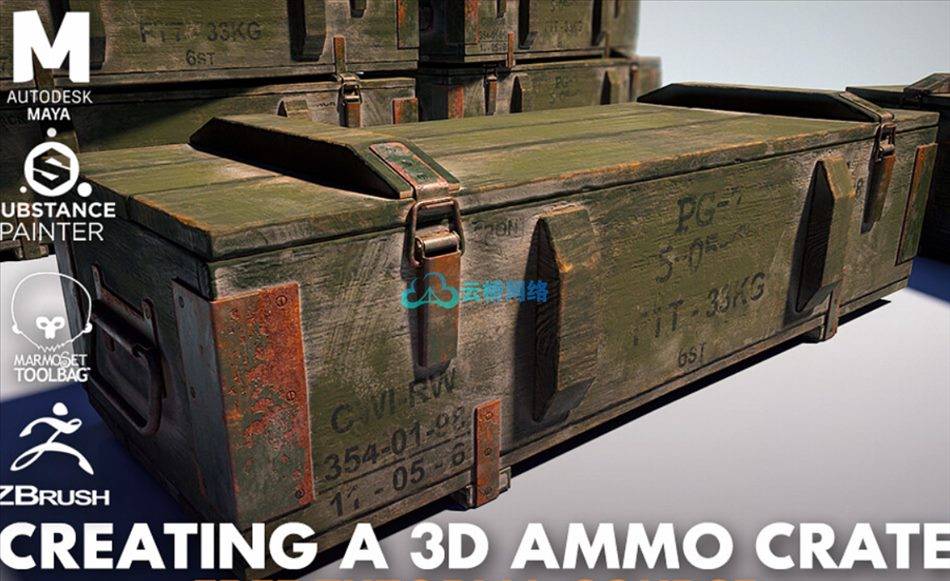
FlippedNormals – Cyber Reptile Creature Course Volume 1 and 2 翻转法线-网络爬行动物课程第1卷和第2卷
教程大小:18.1G 含教程工程文件 1280X800 分辨率 共75小节课程 语言:英语+中文字幕(机译)
信息:
要求
Zbrush、Photoshop、3ds Max、Substance Painter、狨猴工具包(Marmoset Toolbag)基础知识
课程信息:
在本课程中,我们将通过创建一个网络鳄鱼生物的过程,从一个球体到在Zbrush中完成渲染。我们将从制作我们模型的3D草图开始,这将使我们能够快速轻松地改变设计。这将通过使用Zbrush中的一个新功能来实现,即雕塑家专业版。雕塑家专业模式将帮助我们在概念阶段和最终抛光我们的鳄鱼皮。您将学习不同的硬表面建模和机械零件创建技术。这将包括Zmodeler笔刷,修剪动态笔刷,并制作自己的插入多网格笔刷。教程的主要部分将是鳄鱼鳞片的详细制作。我们会用手工或者阿尔法笔刷制作它们。为了做到这一点,你将学习如何从头开始制作自己的阿尔法画笔。最后,我们将为我们的高多边形造型制作姿势,最后,我们将导出渲染过程,我们将在Photoshop中组合这些过程来实现一个漂亮的专业渲染,然后我们将制作一个我们在Zbrush中雕刻的高分辨率角色,准备生产。首先,我们将从使用Zbrush中的抽取主工具导出高多边形零件开始。然后我们将在3ds Max中导入它们,并通过重新渲染抽取的网格来开始制作低多边形。我们将学习如何重组,最大限度地利用我们的形式,并遵循多边形较少的轮廓。然后我们会在Zbrush的一点点帮助下,在3ds Max中为我们的低多边形制作UV坐标。之后,我们将使用材质绘制器从高到低烘焙纹理。然后我们将继续在实体画家中制作纹理。你将学习如何创造逼真的金属,鳞片,污垢和更多。我们将使用各种分层技术和战略性手绘来制作我们的纹理。我们甚至将通过创造发射材料的过程来进一步增强我们的模型。我们将使用实体画家的Iray渲染来展示我们的模型,然后稍后将它放入狨猴体内,以创建一个转盘视频,使我们能够在尽可能好的光线下显示我们的模型。最后,我们的神奇模型将为动画和游戏引擎做好准备。
FlippedNormals – Cyber Reptile Creature Course Volume 1 and 2
Info:
Requirements
Basic knowledge of Zbrush, Photoshop, 3ds Max, Substance Painter and Marmoset Toolbag
Course Info:
In this course, we will go through the process of creating a cyber crocodile creature from a sphere to a finish render in Zbrush. We will start by doing the 3D sketch of our model which will allow us to change the design quickly and easily on the fly. This will be achieved by using one of the new features in Zbrush, which is Sculptris Pro. The Sculptris Pro mode will help us in the concepting stage and in the final polishing of our crocodile skin. You will learn different techniques for hardsurface modeling and mechanical parts creation. This will include Zmodeler brush, Trim Dynamic brush, and making your own Insert Multi-Mesh brush. The big part of the tutorial will be the detailed creation of crocodile scales. We will make them either by hand or using alpha brushes. In order to do that, you will learn how to make your own alpha brushes from scratch. At the end, we will make the pose for our high poly sculpt and lastly, we will export render passes which we will combine in Photoshop to achieve a nice professional looking render, then we will make a high resolution character that we sculpted in Zbrush ready for production. First, we will start by exporting the high poly parts using the decimation master tool in Zbrush. Then we will import them in 3ds Max and start making the low poly by retopologizing the decimated meshes. We will learn how to retopologize, make the most out of our forms and follow the silhouette with fewer polygons. Then we will make the UV coordinates for our low poly in 3ds Max with little help from Zbrush. After that, we will bake the textures from high to the low poly using Substance Painter. Then we will continue in Substance Painter to make the texture. You will learn how to create realistic painted metal, scales, dirt and more. We will make our textures super detailed using various layering techniques and strategic hand painting. We will even go through the process of creating emissive materials to further enhance our model. We will present our model using Substance Painter’s Iray Render and then later on put it inside Marmoset to create a turntable video that will allow us to display our model in the best possible light. At the end, our amazing model will be ready for animation and game engine.
1、登录后,打赏30元成为VIP会员,全站资源免费获取!
2、资源默认为百度网盘链接,请用浏览器打开输入提取码不要有多余空格,如无法获取 请联系微信 yunqiaonet 补发。
3、分卷压缩包资源 需全部下载后解压第一个压缩包即可,下载过程不要强制中断 建议用winrar解压或360解压缩软件解压!
4、云桥CG资源站所发布资源仅供用户自学自用,用户需以学习为目的,按需下载,严禁批量采集搬运共享资源等行为,望知悉!!!
5、云桥CG资源站,感谢您的关注与支持!


