Unity Pro 2020 2.5f1 Win 软件大小解压后:5.47G
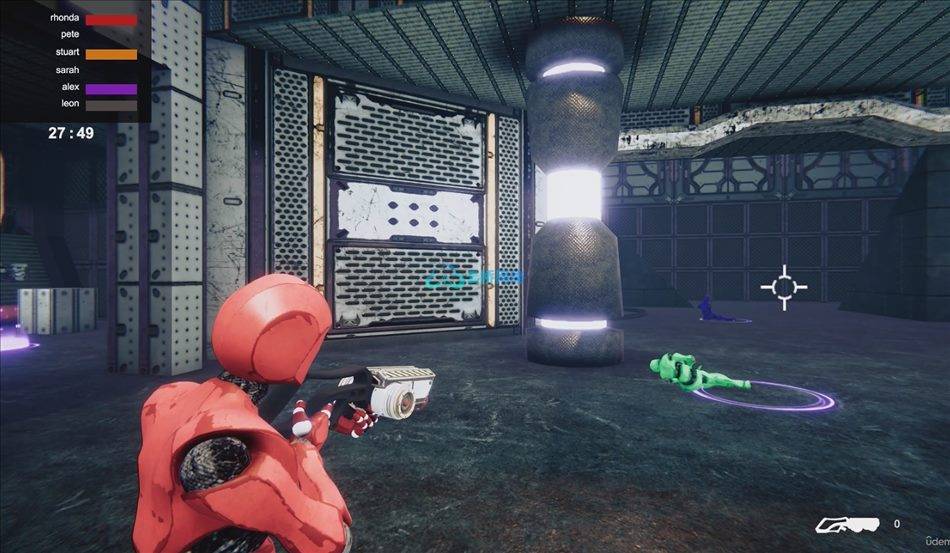
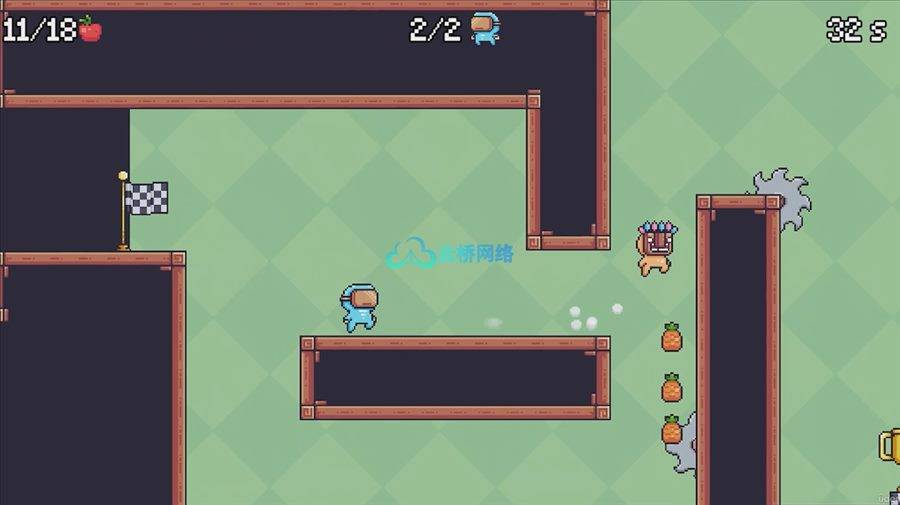
Unity Pro 专业版为专业团队和自由职业者提供更多服务,支持他们创建单人或多人游戏或其他实时 2D、3D、VR 和 AR 交互式体验。
Unity软件是或电子游戏Unity3D设计和制造的一套完整的,由强大的游戏引擎和开发环境组成的编程和开发。由于Unity易做,大部分游戏在图形环境中的代码利用率低,很多公司并鼓励用户利用它。支持流行的编程语言,采用三维建模软件和智能电机输出物理学在内的Unity Pro软件的特点。
更好地开发、更快地迭代并拓展业务
Splash screen customization
更改启动画面。或将其完全删除。
深色主题UI
在赏心悦目的深色 UI 环境中开发。
高级 Cloud Diagnostics
通过有关崩溃、异常和用户反馈的实时数据,更好地了解游戏中发生的情况。
提供的技术支持
遇到问题时,通过专家技术支持最大限度地减少停机时间。可通过 Unity 销售代表单独购买。
提供源代码
访问源代码并根据您的复杂要求进行修改。可通过 Unity 销售代表单独购买。
广告与应用内购
使用手机游戏先进的广告盈利解决方案,并跨多个商店简化应用内购设置。
安装说明:
1. 安装Unity Hub(安装后不要启动)。
2. 安装Unity(安装后不要启动)。
3. 复制并替换(选择你想要的版本)。
3.1.将app.asar文件从crack 枢纽文件夹转到Unity Hub资源文件夹(当安装在C:驱动器–C: \ Program Files (程序文件) Unity Hub (资源文件夹))
3.2.将unity.exe文件从破解版unity文件夹转到Unity编辑器文件夹中(当安装在C:驱动器上–C:程序文件Unity编辑器
4. 删除文件夹 “C:程序文件 统一 编辑 数据 资源 许可”。
5. 将许可证文件Unity_lic.ulf从crack文件夹中复制到C:ProgramData Unity文件夹中。
5.1 如果C:盘没有ProgramData文件夹,启用显示隐藏文件。
5.2 如果C: 驱动器的ProgramData文件夹中没有Unity文件夹,请创建它。
6. 启动Unity Hub。
7. 在出现的窗口中,点击 “定位版本”,并指定unity.exe文件的路径。
8. 创建一个新项目进行测试。
9. 安装你需要的支持模块和附加组件。
1. Install Unity Hub (do not launch after installation).
2. Install Unity (do not start after installation).
3. Copy and replace (select the version you want)
3.1. the app.asar file from the crack \ hub \ x folder to the Unity Hub resources folder (when installed on the C: drive – C: \ Program Files \ Unity Hub \ resources \)
3.2. the unity.exe file from the crack \ unity \ x folder to the Unity editor folder (when installed on the C: drive – C: \ Program Files \ Unity \ Editor \)
4. Delete the folder “C: \ Program Files \ Unity \ Editor \ Data \ Resources \ Licensing \”
5. Copy the license file Unity_lic.ulf from the crack folder to the C: \ ProgramData \ Unity \ folder
5.1 If there is no ProgramData folder on the C: drive, enable the display of hidden files.
5.2 If there is no Unity folder in the C: \ ProgramData folder, create it.
6. Launch Unity Hub.
7. In the window that appears, click ‘Locate a Version’ and specify the path to the unity.exe file.
8. Create a new project for testing.
9. Install the support modules and add-ons you need.
1、登录后,打赏30元成为VIP会员,全站资源免费获取!
2、资源默认为百度网盘链接,请用浏览器打开输入提取码不要有多余空格,如无法获取 请联系微信 yunqiaonet 补发。
3、分卷压缩包资源 需全部下载后解压第一个压缩包即可,下载过程不要强制中断 建议用winrar解压或360解压缩软件解压!
4、云桥CG资源站所发布资源仅供用户自学自用,用户需以学习为目的,按需下载,严禁批量采集搬运共享资源等行为,望知悉!!!
5、云桥CG资源站,感谢您的赞赏与支持!平台所收取打赏费用仅作为平台服务器租赁及人员维护资金 费用不为素材本身费用,望理解知悉!
6、For users outside China, if Baidu Netdisk is not convenient for downloading files, you can contact WeChat: yunqiaonet to receive a Google Drive download link.


