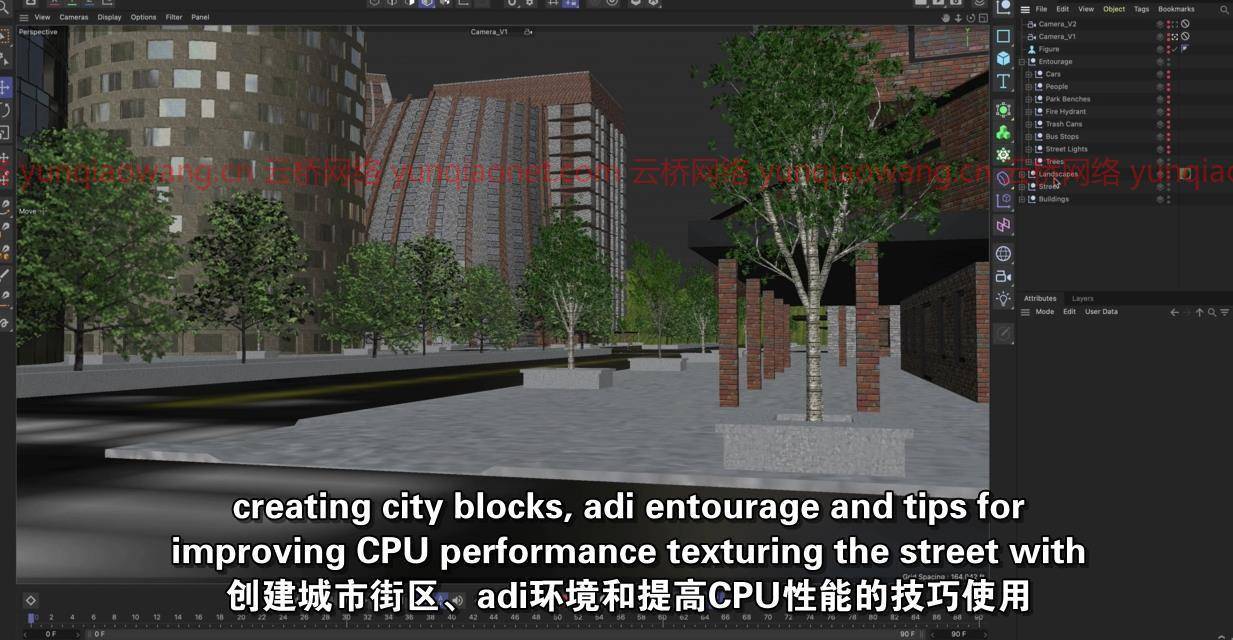

初级到中级课程,包括创建真实的城市景观可视化的步骤
你会学到:
建筑三维建模所涉及的创造性和技术性步骤。
使用变形器和MoGraph克隆器创建建筑变体,以更改每个建筑的形状。
创建城市街区,添加环境和提高中央处理器性能的技巧。
使用Adobe Photoshop使用绘画技巧和自定义画笔对街道进行纹理处理。
使用HDRI图像、物理天空和夜间渲染(包括大气雾效果)创建3种不同的灯光设置。
渲染和优化,加快渲染速度。
Adobe Photoshop中的后期制作技术。
MP4 |视频:h264,1280×720 |音频:AAC,44.1 KHz,2 Ch
语言:英语+中英文字幕(云桥CG资源站 机译) |时长:23节课(2h 53m) |大小解压后:2.41 GB
要求
这是一门初级到中级课程,建议对4D电影公司的用户界面有一个基本的了解。
描述
欢迎学习使用4D电影+ Photoshop创建城市景观的课程。
在这一系列课程中,我们将涵盖许多主题,让您对整个架构可视化工作流有一个坚实的了解,包括:
01.建筑三维建模所涉及的创造性和技术性步骤。
多边形建模和使可编辑功能
为窗框和玻璃创建拉伸
存储选择并将多种材料应用于几何图形
使用4D电影公司的程序材料制作纹理
使用MoGraph克隆器和数组对象复制几何图形
使用变形器修改每个建筑的形状


02.创建城市街区
渲染实例和提高CPU性能的技巧
添加环境(人、车、树、路灯等)来填充场景
3D树和剪切之间的差异,以及这些差异如何影响性能的讨论
在4D电影公司的资产浏览器中查找和下载免费内容
外部免费三维模型资源的网络链接
相机视图和合成技术,包括三分法和图像框架
03.用Adobe Photoshop制作街道纹理
绘画技巧
图层蒙版
文件组织
导入自定义画笔
文件准备

04.探索3种不同的灯光设置
具有无限光和填充光的HDRI图像
物理天空
夜间场景,包括使用大气雾效果
05.渲染和优化,加快渲染速度。
渲染优化
渲染设置
对象缓冲区
06.Adobe Photoshop中的后期制作技术
文件组织
频道和选择
掩饰
调整层
发光、锐化和景深
最终输出
这门课是给谁的
初学3D艺术家有兴趣学习整个建筑可视化工作流程。
中级3D艺术家,对学习各种可视化技术感兴趣。

MP4 | Video: h264, 1280×720 | Audio: AAC, 44.1 KHz, 2 Ch
Genre: eLearning | Language: English + srt | Duration: 23 lectures (2h 53m) | Size: 2.3 GB
A beginner to intermediate level course covering the steps of creating a realistic cityscape visualization
What you’ll learn:
The creative and technical steps involved with 3D modeling the architecture.
Create building variations using deformers and the MoGraph cloner to change the shape of each building.
Create city blocks, adding entourage and tips for improving CPU performance.
Texturing the street with Adobe Photoshop using painting techniques and custom brushes.
Create 3 different light set-ups using HDRI images, physical skies and nighttime renders including atmospheric fog effects.
Rendering and optimization for faster render times.
Post-Production Techniques in Adobe Photoshop.
Requirements
This is a beginner to intermediate course and a basic understanding of Cinema 4D’s user interface is recommended.
Description
Welcome to this course on Creating a Cityscape Using Cinema 4D + Photoshop.
In this series of lessons we will cover a lot of topics to give you a solid understanding of the entire architectural visualization workflow including:
01. The creative and technical steps involved with 3D modeling the architecture.
Polygon modeling and the make editable function
Creating extrusions for the window frames and glass
Store selections and apply multiple materials to geometry
Texturing using Cinema 4D’s procedural materials
Duplicating geometry using the MoGraph cloner and array object
Using deformers to modify the shape of each building
02. Creating the city blocks
Render instances and tips for improving CPU performance
Adding entourage (people, cars, trees, street light, etc) to populate the scene
The differences between a 3D tree and a cutout and discussion on how these impact performance
Locating and downloading free content within Cinema 4D’s asset browser
Web links to external free 3D model resources
Camera views and compositional techniques including the rule of thirds and framing the image
03. Texturing the street with Adobe Photoshop
Painting Techniques
Layer Masks
File Organization
Importing custom brushes
File preparation
04. Explore 3 different light set-ups
HDRI image with infinite light and fill light
Physical Sky
Nighttime scene including use of atmospheric fog effects
05. Rendering and optimization for faster render times.
Render Optimization
Render Settings
Object Buffers
06. Post-Production Techniques in Adobe Photoshop
File Organization
Channels and Selections
Masking
Adjustment Layers
Glows, Sharpening, and Depth of Field
Final Output
Who this course is for
Beginner 3D Artist interested in learning the entire architectural visualization workflow.
Intermediate 3D Artist interested in learning various visualization techniques.
1、登录后,打赏30元成为VIP会员,全站资源免费获取!
2、资源默认为百度网盘链接,请用浏览器打开输入提取码不要有多余空格,如无法获取 请联系微信 yunqiaonet 补发。
3、分卷压缩包资源 需全部下载后解压第一个压缩包即可,下载过程不要强制中断 建议用winrar解压或360解压缩软件解压!
4、云桥CG资源站所发布资源仅供用户自学自用,用户需以学习为目的,按需下载,严禁批量采集搬运共享资源等行为,望知悉!!!
5、云桥CG资源站,感谢您的赞赏与支持!平台所收取打赏费用仅作为平台服务器租赁及人员维护资金 费用不为素材本身费用,望理解知悉!


